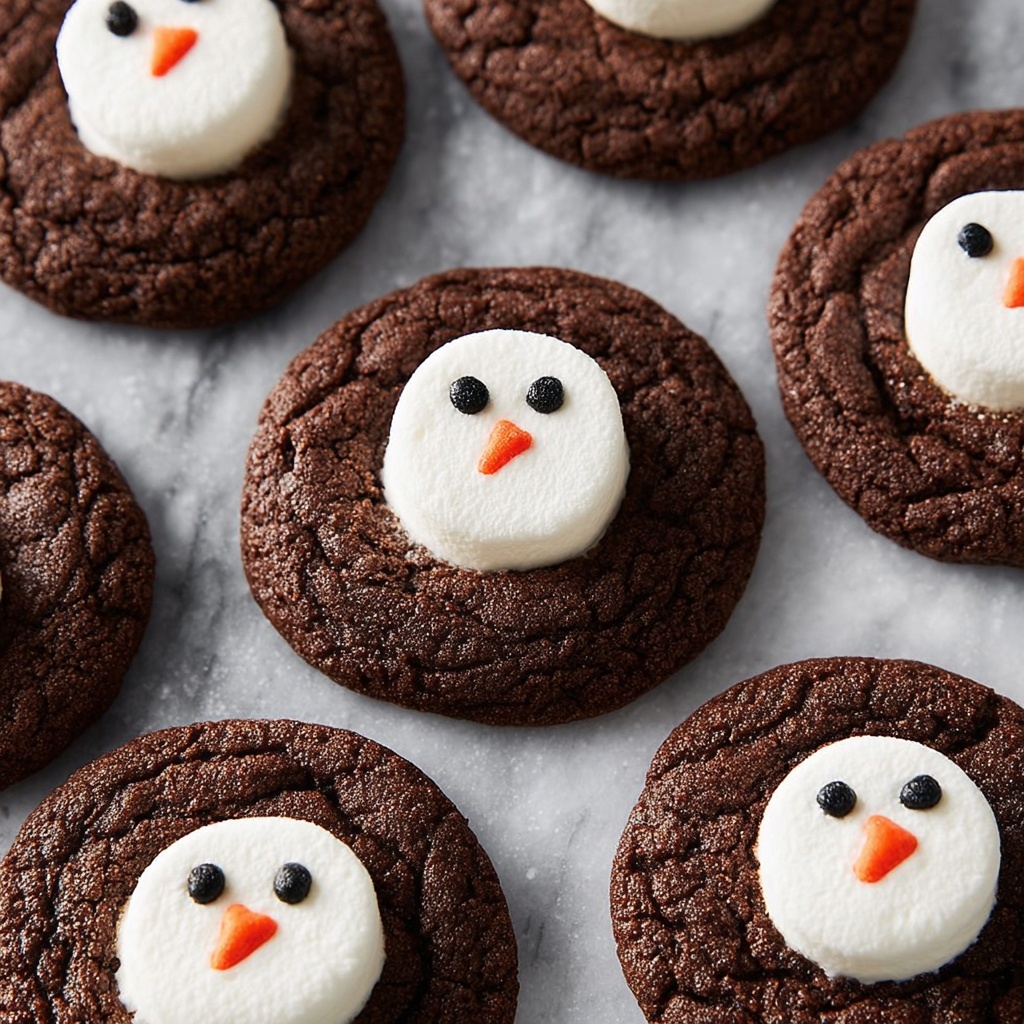
If you’re looking for a festive treat that combines the cozy warmth of hot chocolate with the charm of winter’s favorite character, you’re in for a real delight! The Snowman Hot Cocoa Cookies Recipe brings together rich cocoa-flavored cookie dough with soft, gooey marshmallows, decorated to look like adorable snowmen. These cookies are not only a feast for your taste buds, but they add an element of fun and whimsy to any holiday gathering — perfect for sharing with friends, family, or just enjoying alongside a steaming mug of cocoa yourself.
Ingredients You’ll Need
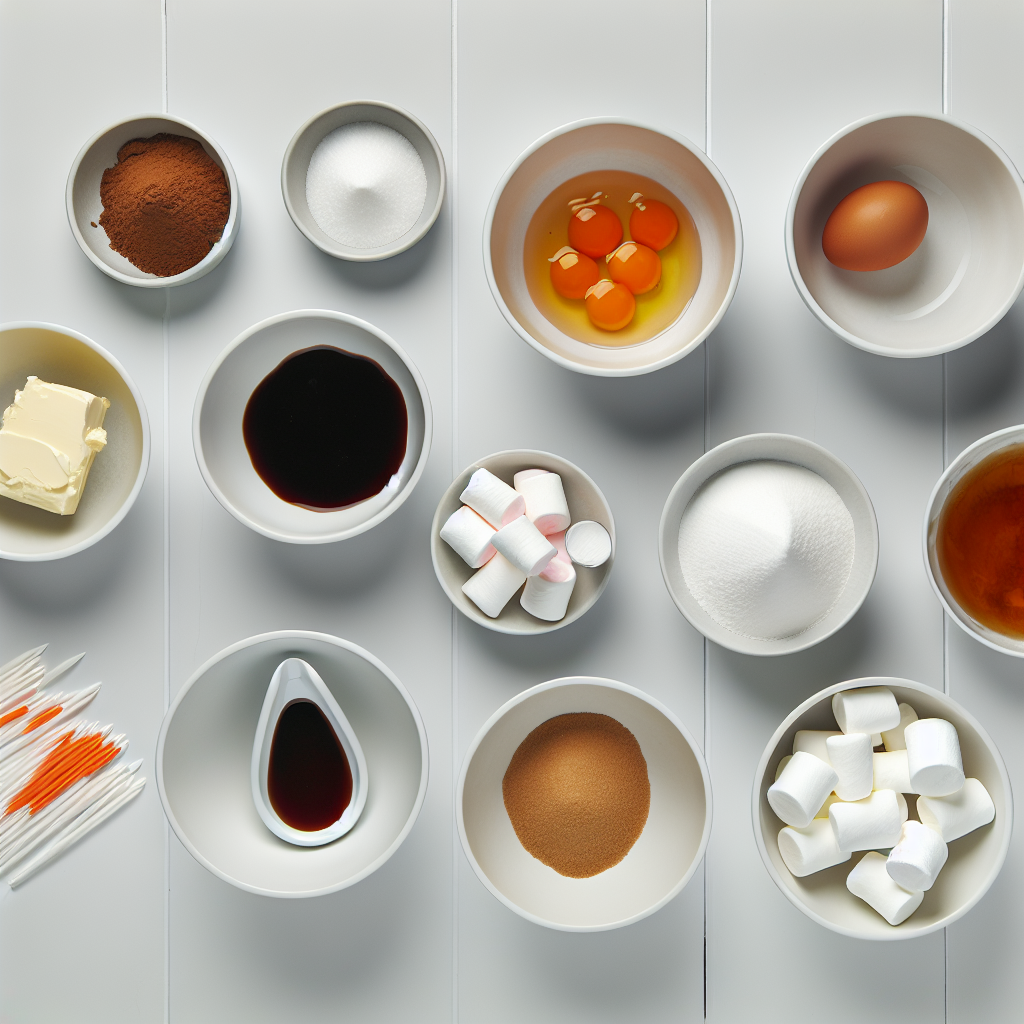
The magic of the Snowman Hot Cocoa Cookies Recipe lies in its simple yet essential ingredients. Each one plays a special role in creating the lush texture, deep chocolate flavor, and that playful snowman look that makes these cookies irresistible.
- Unsalted butter (1 cup / 227 g): Provides richness and moisture to the cookie dough.
- Unsweetened cocoa powder (½ cup / 50 g): Adds the deep chocolate flavor and color.
- Packed brown sugar (1 cup / 200 g): Offers a rich, caramel-like sweetness and chewier texture.
- Granulated sugar (½ cup / 100 g): Enhances sweetness and helps with dough structure.
- Large eggs (2): Bind everything together and contribute to the cookie’s tender crumb.
- Vanilla extract (1 tsp): Brings warmth and depth to the overall flavor.
- Kosher salt (½ tsp): Balances the sweetness and enhances chocolate flavor.
- Baking soda (1 tsp): Provides leavening to keep cookies soft and slightly risen.
- All-purpose flour (2 cups + 3 tbsp / 260 g): Forms the structure of the cookies with the perfect balance of density and softness.
- Cornstarch (2 tsp): Adds a tender, melt-in-your-mouth texture.
- Black gel food coloring (1-2 drops, optional): Deepens the chocolate color for a visually richer cookie.
- Large marshmallows (about 20, halved): The star of the show, these are the “heads” of your snowmen.
- White melting wafers (2-3 tablespoons, tinted orange): Used to craft the signature carrot noses.
- Melted dark chocolate wafers (¼ cup): Perfect for painting on the eyes and smiles with precision.
- Toothpicks or fine piping tools: Essential for detailed decorating work.
- Optional alternatives: Orange candy melts or cookie icing can be swapped in for carrot noses if preferred.
How to Make Snowman Hot Cocoa Cookies Recipe
Step 1: Prepare the Chocolate Mixture
Start by melting the butter gently until just melted, then whisk in the cocoa powder until ultra smooth. Adding the brown sugar and granulated sugar next brings that perfect blend of sweetness and moisture. Whisk in the eggs and vanilla extract until the mixture glistens with a smooth shine. If you want a deeper, richer chocolate color, this is where you add the black gel food coloring for an extra wow factor.
Step 2: Combine Dry Ingredients
Sprinkle in the kosher salt and baking soda, then gradually add the flour and cornstarch. Stir everything with a spatula just until a soft, pliable dough forms. Don’t overwork it — you want to maintain that tender texture. Once combined, cover the dough and let it chill for 30 to 45 minutes, or even overnight to develop the flavors and make it easier to shape later.
Step 3: Preheat and Prepare Baking Sheets
When ready to bake, preheat your oven to 350°F (177°C). Line your baking sheets with parchment paper to ensure easy cleanup and prevent sticking — a small step that goes a long way!
Step 4: Shape and Partially Bake Cookies
Scoop the chilled dough into generous 2-tablespoon portions and space them 2 to 3 inches apart on the prepared sheets. Bake for exactly 9 minutes. Right after pulling them from the oven, gently press one marshmallow half, cut side down, into the center of each cookie. Return the baking sheet to the oven for just 60 to 90 seconds so the marshmallows puff slightly without browning or melting too much.
Step 5: Cool Before Decorating
Let the cookies cool on the sheet for about 10 minutes, which helps the marshmallow set nicely in place. Then transfer them to a wire rack to cool fully — this step prevents any premature melting while decorating.
Step 6: Decorate Your Snowmen
Melt the white melting wafers slowly in the microwave using short bursts, stirring in between, and tint a small portion orange for the carrot noses. Using a toothpick, carefully dot tiny noses onto each marshmallow snowman face. Repeat the melting process with dark chocolate wafers, then use a toothpick or fine piping tool to add charming eyes and smiling mouths. Let all your decorating bits set completely before serving or storing.
How to Serve Snowman Hot Cocoa Cookies Recipe
Garnishes
These playful cookies are charming on their own but can be garnished further with a light dusting of powdered sugar for a snowy effect or alongside festive sprinkles to amp up the holiday cheer. Fresh mint leaves or a small candy cane placed nearby also add visual appeal and extra holiday flavor.
Side Dishes
Serve these Snowman Hot Cocoa Cookies Recipe delights alongside mugs of warm hot chocolate, rich eggnog, or spiced coffee for a truly cozy experience. They also make a fun pairing with fresh fruit or a simple scoop of vanilla ice cream for an indulgent treat at any gathering.
Creative Ways to Present
Present your snowman cookies on a festive platter surrounded by mini marshmallows and cinnamon sticks to turn your dessert table into a charming winter wonderland. Wrapping a few in clear cellophane bags tied with colorful ribbon makes for adorable, homemade gifts that will warm hearts as well as bellies!
Make Ahead and Storage
Storing Leftovers
Store your Snowman Hot Cocoa Cookies Recipe in an airtight container at room temperature to keep them soft and fresh for up to 3 days. Make sure the container isn’t too tight against the delicate decorations to avoid smudging.
Freezing
You can freeze these cookies before decorating by placing the cooled, baked cookies in a single layer on a baking sheet to flash freeze, then transferring them to a freezer-safe container or bag. Freeze for up to 2 months. Decorate after thawing for best results.
Reheating
If you want to warm the cookies slightly before serving, pop them in a microwave for 10 seconds or briefly in a warm oven (around 300°F) for 3 to 4 minutes. This brings back that freshly-baked softness and makes the marshmallow center extra gooey.
FAQs
Can I use regular food coloring instead of gel for the cookie dough?
While regular food coloring can work, gel food coloring is preferred because it adds color without altering the dough’s consistency. Just a small drop or two deepens the chocolate tone without affecting texture.
What if I don’t want to decorate with melted chocolate?
No worries! You can substitute with store-bought edible markers, icing pens, or small candy pieces to create the eyes and smile—whatever feels easiest and most fun for you.
Can I make the dough ahead of time?
Absolutely! The dough benefits from chilling and can be made up to 24 hours in advance. Just keep it tightly covered in the fridge until you’re ready to scoop, bake, and assemble your snowmen.
How do I keep the marshmallows from burning or melting too much?
Press the marshmallows into the cookies right after the initial baking, then return them to the oven for only about 60 to 90 seconds — just long enough for a little puff but not enough to cause browning or melting over the edges.
Are these cookies kid-friendly to make and eat?
They sure are! Kids will love helping press marshmallows, decorate with the melted chocolate, and of course, eating these adorable treats. Just supervise the oven and handling of hot melted chocolate for safety.
Final Thoughts
The Snowman Hot Cocoa Cookies Recipe is such a joyful way to celebrate the season with a perfect blend of chocolatey goodness and whimsical winter charm. Whether you’re baking for a festive party or a cozy night in, these cookies are guaranteed to bring smiles and warm hearts. I can’t wait for you to try them and share the fun with those you love!
Print
Snowman Hot Cocoa Cookies Recipe
- Prep Time: 20 minutes
- Cook Time: 11 minutes
- Total Time: 31 minutes plus chilling time
- Yield: 28 cookies
- Category: Dessert
- Method: Baking
- Cuisine: American
Description
Delightful Snowman Hot Cocoa Cookies combine rich chocolate dough with fluffy marshmallow snowmen, decorated with white and dark chocolate to create festive, playful treats perfect for winter or holiday celebrations.
Ingredients
Cookie Dough Ingredients
- 1 cup (227 g) unsalted butter
- ½ cup (50 g) unsweetened cocoa powder
- 1 cup (200 g) packed brown sugar
- ½ cup (100 g) granulated sugar
- 2 large eggs
- 1 tsp vanilla extract
- ½ tsp kosher salt
- 1 tsp baking soda
- 2 cups + 3 tbsp (260 g) all-purpose flour
- 2 tsp cornstarch
- 1–2 drops black gel food coloring (optional, deepens the chocolate color)
Decoration Ingredients
- About 20 large marshmallows (cut in half, keep extras)
- 2–3 tablespoons white melting wafers (tinted orange with gel food coloring)
- ¼ cup melted dark chocolate wafers
- Toothpicks or fine piping tools
- Optional alternatives: orange candy melts or cookie icing
Instructions
- Make the chocolate base: Melt the unsalted butter and whisk in the unsweetened cocoa powder until the mixture is smooth. Then whisk in the packed brown sugar and granulated sugar until combined. Add the eggs and vanilla extract, whisking until the batter is shiny and smooth. If desired, add 1–2 drops of black gel food coloring to deepen the chocolate color and mix thoroughly.
- Form the dough: Stir in the kosher salt and baking soda. Incorporate the all-purpose flour and cornstarch using a spatula until a soft dough forms. Cover the dough and refrigerate it for 30 to 45 minutes, or up to overnight for better texture.
- Prepare to bake: When ready, preheat your oven to 350°F (177°C). Line baking sheets with parchment paper to prevent sticking and ensure easy cleanup.
- Shape and bake cookies: Scoop the chilled dough into 2-tablespoon portions and place them 2–3 inches apart on the prepared baking sheets. Bake the cookies for 9 minutes. Remove the baking sheets from the oven and gently press one marshmallow half (cut side down) into the center of each cookie.
- Finish baking with marshmallows: Return the baking sheets to the oven for an additional 60 to 90 seconds. This short time lets the marshmallows puff slightly without browning or over-expanding. Remove and cool on the sheets for 10 minutes before transferring to a wire rack to cool completely.
- Decorate the cookies: Melt the white chocolate wafers gently in the microwave in 10–15 second intervals, stirring between until smooth. Tint a small portion orange with gel food coloring. Use a toothpick to draw tiny carrot noses on each marshmallow half. Separately melt the dark chocolate wafers the same way and use a toothpick or fine piping tool to create eyes and smiles on the marshmallow faces. Allow the chocolate decoration to set completely before serving or packaging.
Notes
- Chilling the dough is essential for easier handling and better cookie texture.
- Keep extra marshmallow halves on hand as some may not hold their shape perfectly when pressed into the cookies.
- Use gel food coloring instead of liquid to avoid thinning the melted chocolate wafers.
- For a variation, you can substitute orange candy melts or store-bought cookie icing for decorating the carrot noses.
- Do not bake after adding marshmallows for more than 90 seconds to prevent browning or marshmallow over-expansion.
- Store cookies in an airtight container at room temperature for up to 5 days; marshmallow toppings are best enjoyed fresh.


