“`html
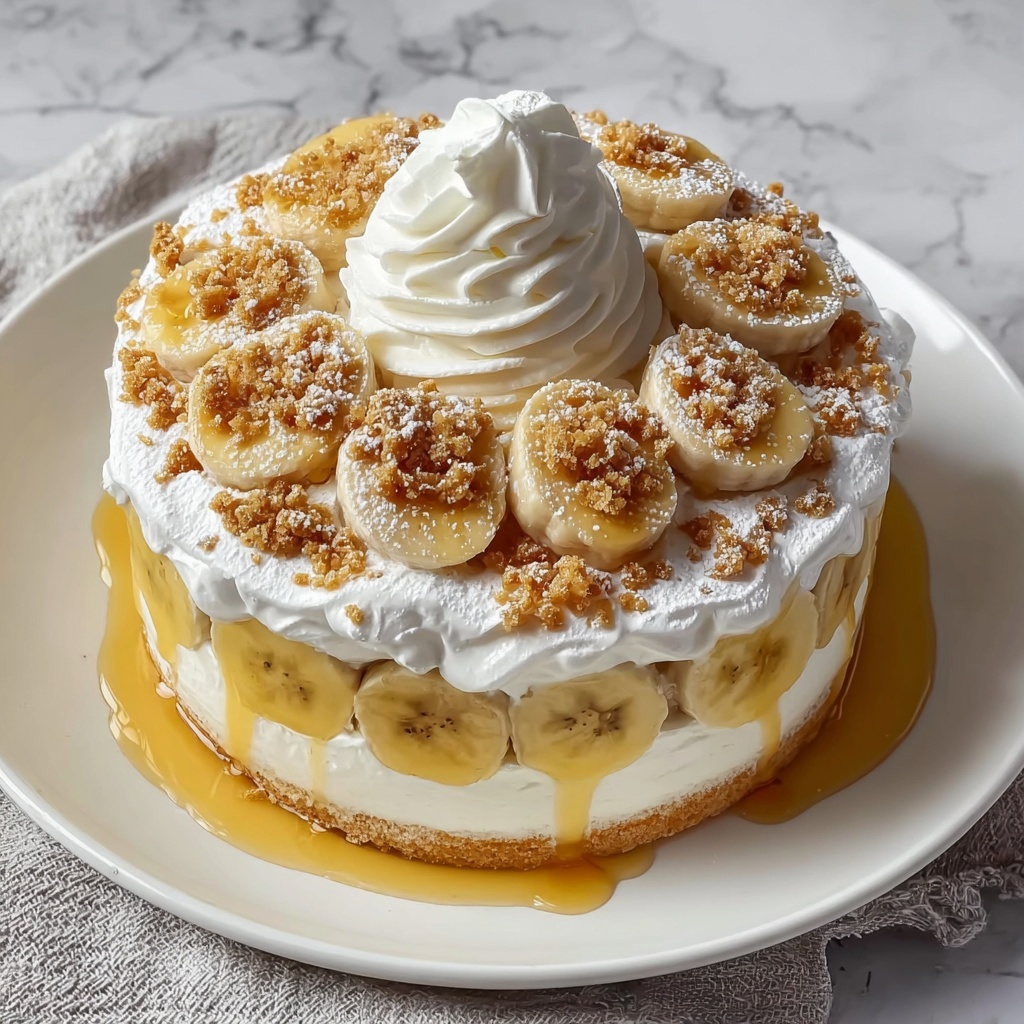
There’s something truly magical about a classic dessert that feels like a warm hug from your childhood, and this Old-Fashioned Homemade Banana Pudding Recipe delivers exactly that. Creamy, luscious pudding layered with sweet vanilla wafers and ripe bananas creates a comforting combination that’s incredibly satisfying. Every bite bursts with nostalgic flavor and smooth textures, making it a beloved dessert to share with family and friends.
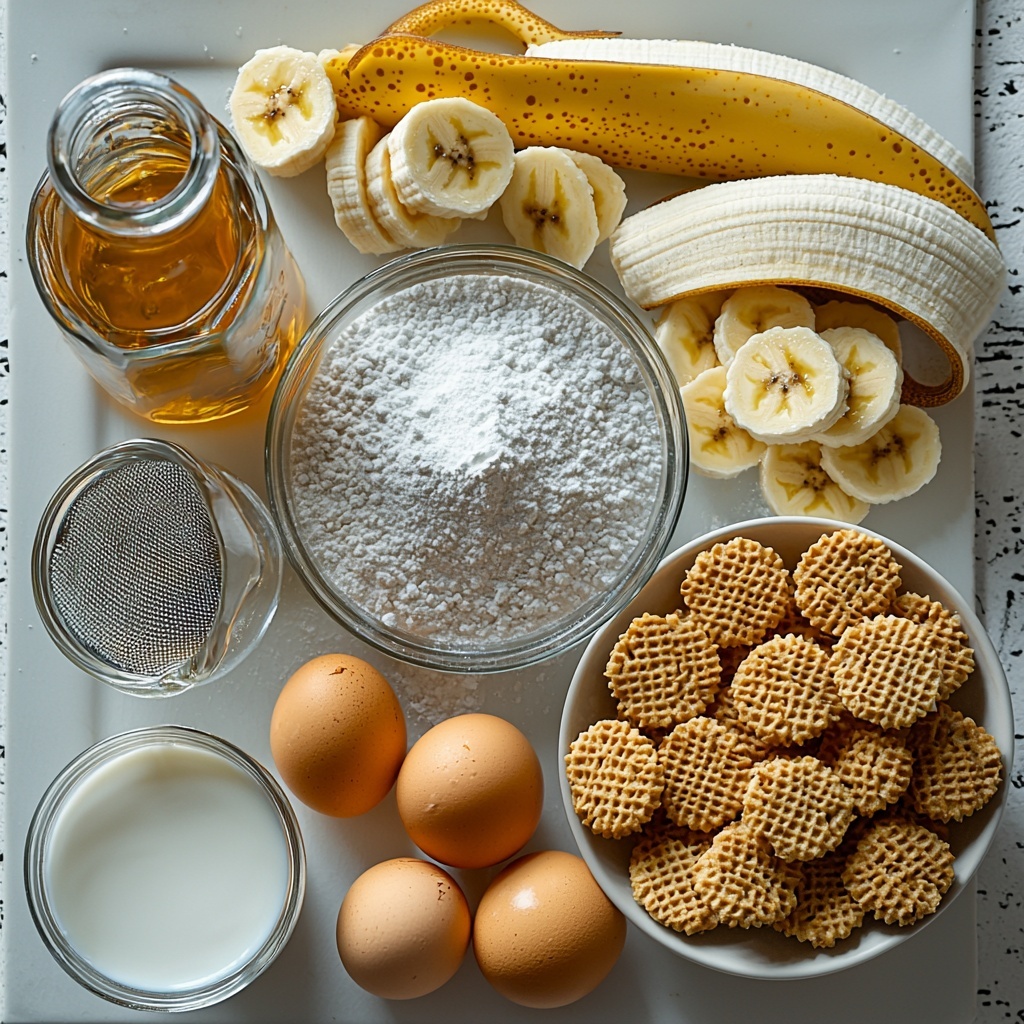
Ingredients You’ll Need
This Old-Fashioned Homemade Banana Pudding Recipe relies on simple, pantry-friendly ingredients that come together to create both rich flavor and perfect texture. Each component plays its part, from the creamy whole milk that gives the pudding its silky base to the ripe bananas that add natural sweetness and freshness.
- 1 cup granulated sugar: Sweetens the pudding without overpowering the delicate flavors.
- 1/2 cup all-purpose flour: Acts as a thickening agent to achieve that velvety pudding consistency.
- 1/2 teaspoon salt: Balances the sweetness and enhances the overall flavor.
- 4 cups whole milk: Provides rich creaminess essential for a smooth pudding texture.
- 6 large egg yolks, lightly beaten: Adds body and silkiness to the custard base.
- 2 teaspoons vanilla extract: Gives a warm, inviting aroma and classic vanilla flavor.
- 1 box vanilla wafers (approximately 11 ounces): Offers sweet crunch and a nostalgic touch.
- 5 to 6 ripe bananas, sliced: Brings fresh sweetness and a fruity contrast to the creamy pudding.
- 1 cup heavy whipping cream: Used to create a fluffy whipped topping for extra indulgence.
- 2 tablespoons powdered sugar: Sweetens the whipped cream delicately for the perfect finishing touch.
How to Make Old-Fashioned Homemade Banana Pudding Recipe
Step 1: Prepare the Pudding Base
Start by combining the sugar, flour, and salt in a large saucepan. Gradually whisk in the whole milk until the mixture is smooth and clump-free. Place the pan over medium heat, stirring constantly, to prevent lumps and ensure even cooking. Within about 10 to 12 minutes, the mixture will thicken and coat the back of your spoon—this is a crucial sign your pudding base is perfectly cooked.
Step 2: Temper the Egg Yolks
To avoid scrambling, slowly whisk about one cup of the hot pudding into the beaten egg yolks, gently raising their temperature. Then, pour this mixture back into the saucepan and continue cooking over medium heat for another 2 to 3 minutes until the pudding thickens further. Finally, remove from heat and stir in the vanilla extract, which adds that classic, irresistible fragrance and flavor to the custard.
Step 3: Layering the Pudding
Grab a glass baking dish and start layering—one-third of the vanilla wafers, then one-third of the banana slices, followed by one-third of the pudding mixture. Repeat this process two more times, ending with a smooth layer of pudding on top. This layering not only looks beautiful but ensures every bite offers a balanced mix of crisp wafers, fresh bananas, and creamy pudding.
Step 4: Chill and Set
Cover your dish with plastic wrap pressed directly onto the pudding surface to prevent a skin from forming. Refrigerate for at least 4 hours or preferably overnight, allowing the flavors to meld and the wafers to soften just enough for that melt-in-your-mouth experience we all crave from this Old-Fashioned Homemade Banana Pudding Recipe.
Step 5: Whip the Cream and Serve
Before serving, whip the heavy cream and powdered sugar together until soft peaks form. Spread or dollop this fluffy whipped cream over the chilled pudding. For an extra touch of charm, garnish with additional vanilla wafers or banana slices if you like. This final step adds a delightful lightness to the dessert and makes every spoonful even more heavenly.
How to Serve Old-Fashioned Homemade Banana Pudding Recipe
Garnishes
Adding garnishes like crushed vanilla wafers, fresh banana slices, or even a sprinkle of cinnamon or nutmeg can elevate the presentation and taste. These little touches not only make the pudding look inviting but also add layers of texture and flavor that complement the creamy base perfectly.
Side Dishes
This banana pudding shines as a standalone dessert but pairs beautifully with light, fruity salads or a simple scoop of vanilla ice cream. Fresh berries on the side can also offer a vibrant contrast that balances the rich, sweet flavors of the pudding.
Creative Ways to Present
For a fun twist, try serving this Old-Fashioned Homemade Banana Pudding Recipe in individual clear cups or mason jars, showcasing the beautiful layers. You can also transform it into parfaits by alternating layers with crushed cookies or adding a drizzle of caramel sauce for an indulgent finish that will wow your guests.
Make Ahead and Storage
Storing Leftovers
Leftover banana pudding can be stored in an airtight container in the refrigerator for 3-4 days. Keeping it chilled ensures the pudding stays fresh and the texture remains creamy without the bananas becoming overly brown.
Freezing
Because of the fresh bananas and whipped topping, freezing this pudding is not recommended as it can affect the texture and flavor. It’s best enjoyed fresh within a few days of preparation.
Reheating
This dessert is best served cold, so reheating is not necessary. If you prefer a warmer treat, try gently warming a small serving in the microwave for just a few seconds, but be cautious as the texture can quickly become compromised.
FAQs
Can I use substitutes for whole milk in this recipe?
While whole milk is preferred for its richness and creaminess, you can use 2% milk but the pudding may be slightly less rich. Avoid skim or plant-based milks for this recipe since they won’t give the same texture or flavor.
How do I prevent the bananas from browning?
Using ripe but firm bananas and slicing them just before layering helps. Once layered and covered, chilling promptly slows browning. You can also brush banana slices lightly with lemon juice for extra protection.
Can I make this pudding vegan or dairy-free?
This traditional recipe relies on eggs, dairy milk, and cream, so it’s not suitable for vegan diets without significant modifications. For dairy-free and vegan versions, alternative recipes with plant-based milks and egg substitutes are better options.
Why is it important to temper the egg yolks?
Tempering prevents the eggs from scrambling by gradually raising their temperature before fully combining with the hot pudding mixture. This ensures a smooth, silky custard without lumps or cooked egg bits.
How long should I chill the pudding before serving?
Chilling for at least 4 hours is key to allowing the pudding to set properly and the flavors to meld. Overnight refrigeration is even better for a perfectly chilled, cohesive dessert.
Final Thoughts
This Old-Fashioned Homemade Banana Pudding Recipe is one of those timeless desserts that fills your kitchen with warmth and your heart with joy. Its simple ingredients and straightforward steps make it accessible, yet the flavors and texture are anything but ordinary. I can’t encourage you enough to give this recipe a try—once you do, it’s sure to become a favorite in your dessert rotation, bringing smiles to everyone lucky enough to taste it.
“`
Print
Old-Fashioned Homemade Banana Pudding Recipe
- Prep Time: 20 minutes
- Cook Time: 15 minutes
- Total Time: 4 hours 35 minutes
- Yield: 8 servings
- Category: Dessert
- Method: Stovetop
- Cuisine: Southern American
Description
Old-Fashioned Homemade Banana Pudding is a classic Southern dessert that features creamy custard layered with vanilla wafers and fresh banana slices. The pudding is made from scratch with a rich, velvety custard base, chilled to perfection, and topped with freshly whipped cream for a luscious, comforting treat that’s perfect for any occasion.
Ingredients
Custard
- 1 cup granulated sugar
- 1/2 cup all-purpose flour
- 1/2 teaspoon salt
- 4 cups whole milk
- 6 large egg yolks, lightly beaten
- 2 teaspoons vanilla extract
Layers
- 1 box vanilla wafers (approximately 11 ounces)
- 5 to 6 ripe bananas, sliced
Whipped Cream Topping
- 1 cup heavy whipping cream
- 2 tablespoons powdered sugar
Instructions
- Make the custard base: In a large saucepan, whisk together the sugar, flour, and salt. Gradually add the milk while whisking until the mixture is smooth and free of lumps.
- Cook the custard: Place the saucepan over medium heat and cook the mixture, stirring constantly, until it thickens and coats the back of a spoon, about 10 to 12 minutes.
- Temper the eggs: Remove the saucepan from heat. Gradually whisk about 1 cup of the hot custard mixture into the lightly beaten egg yolks to warm them gently and prevent curdling.
- Thicken the custard further: Return the egg yolk mixture to the saucepan, stirring constantly. Place it back over medium heat and cook for an additional 2 to 3 minutes until the custard further thickens. Remove from heat and stir in vanilla extract.
- Layer the pudding: In a glass baking dish, create layers by placing one-third of the vanilla wafers, followed by one-third of the banana slices, and then pour one-third of the custard pudding over them. Repeat these layers two more times, finishing with a top layer of custard.
- Chill the pudding: Cover the dish with plastic wrap pressed directly onto the pudding surface to prevent a skin from forming. Refrigerate for at least 4 hours or preferably overnight to allow the flavors to meld and the pudding to set.
- Prepare the whipped cream topping: Before serving, whip the heavy cream and powdered sugar together in a mixing bowl until soft peaks form.
- Add the topping and garnish: Spread or dollop the whipped cream evenly over the chilled pudding. Garnish with additional vanilla wafers or banana slices if desired.
Notes
- To prevent the bananas from browning, prepare the pudding close to serving time or sprinkle lemon juice over banana slices.
- For a lighter version, you can substitute whole milk with 2% milk, but the texture may be slightly less creamy.
- Ensure to whisk constantly when cooking the custard to prevent lumps and scorching.
- This pudding improves in flavor when refrigerated overnight, allowing the vanilla wafers to soften and meld with the custard.
- Use ripe but firm bananas to avoid mushy textures in the pudding.
- Whipped cream topping can be sweetened more or less according to taste preference.


