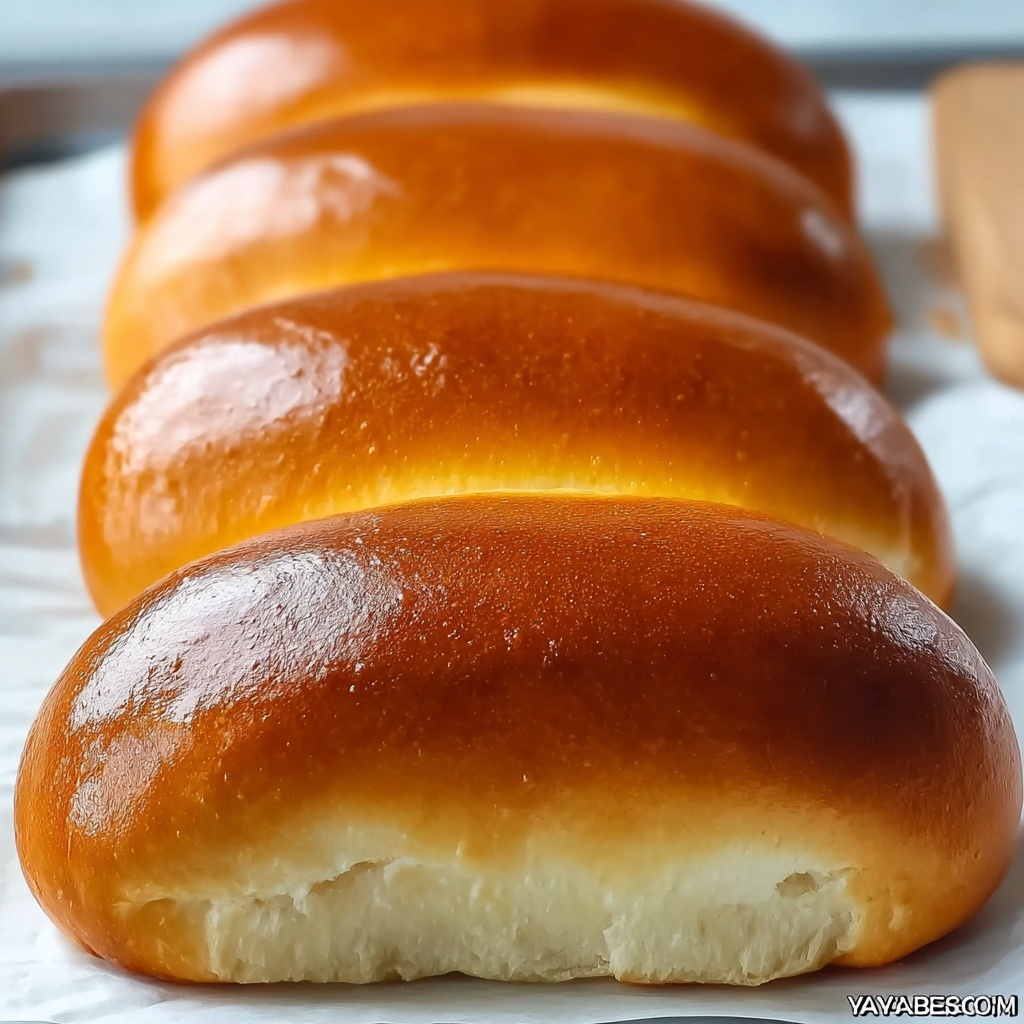
If you’ve ever wished for that perfectly soft, pillowy bun to cradle your favorite hot dog, then you’re in for a treat with this Homemade Soft Hot Dog Buns from Scratch Recipe. There is something incredibly satisfying about baking these buns yourself—the aroma filling the kitchen, the tender crumb, and that beautiful golden crust—all combining to elevate your hot dog experience to a whole new level. This recipe brings together simple kitchen staples into a homemade delight that’s way better than store-bought and so worth the effort.
Ingredients You’ll Need
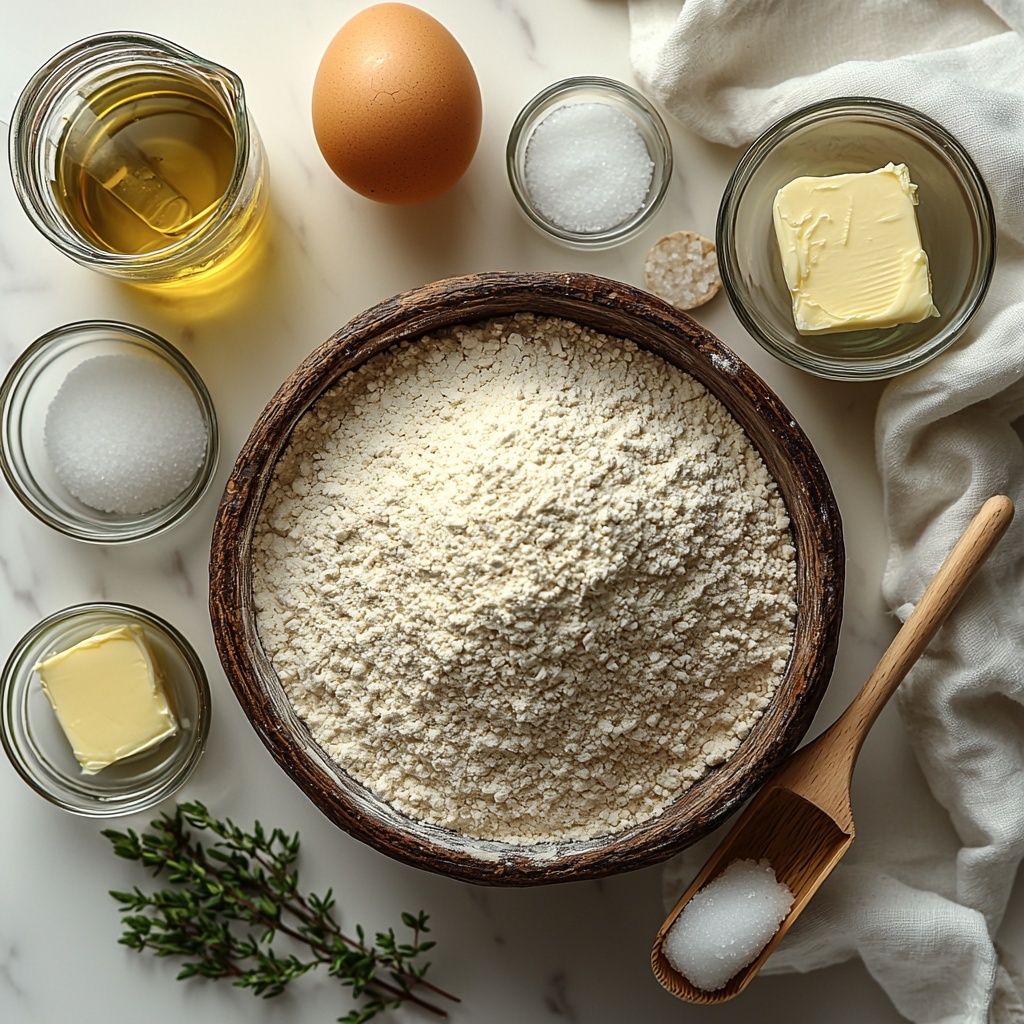
The magic of these homemade soft hot dog buns lies in the simplicity and quality of their ingredients. Each one plays a crucial role, whether it’s activating the yeast, tenderizing the dough, or adding a slight sweetness and richness that makes these buns irresistibly soft and flavorful.
- 3 ½ cups all-purpose flour: The foundation that provides structure and chewiness.
- 2 ¼ teaspoons instant yeast: Works quickly to give your buns that perfect rise and airy texture.
- 1 tablespoon sugar: Feeds the yeast and adds a subtle sweetness to balance flavors.
- 1 teaspoon salt: Enhances the overall taste and controls yeast activity for even rising.
- 1 cup warm milk: Moisturizes the dough and adds richness for softness.
- 2 tablespoons butter, softened: Adds tender crumb and a subtle buttery flavor.
- 1 large egg: Gives structure and a lovely golden color to the buns.
- 1 tablespoon vegetable oil (for greasing): Prevents sticking during the first rise.
How to Make Homemade Soft Hot Dog Buns from Scratch Recipe
Step 1: Activate the Yeast
Start by combining warm milk, sugar, and instant yeast in a large bowl. Let it sit for about 5 minutes until it becomes frothy—this is the yeast waking up and getting ready to work its magic in your dough. It’s an exciting first step that sets the stage for wonderfully airy buns.
Step 2: Form the Dough
Next, add the flour, salt, softened butter, and egg to your yeast mixture. Mix everything together until a rough dough starts to form. This is when the ingredients start uniting, and you can almost imagine the soft texture your buns will have once baked.
Step 3: Knead Until Smooth
Turn the dough out onto a floured surface and knead it for 8 to 10 minutes. This step is crucial as kneading develops the gluten, giving the buns their slight chew and strength while keeping them tender inside. The dough should become smooth and elastic, a good sign that you’re on the right track.
Step 4: Let the Dough Rise
Place your dough into a lightly oiled bowl and cover it to keep the moisture in. Set it somewhere warm to rise for about 1 hour, or until it has doubled in size. This rising process creates the light, airy texture we all love in the perfect hot dog bun.
Step 5: Shape Your Buns
After punching down the dough to release excess air, divide it into 8 equal pieces. Shape each piece into a classic hot dog bun shape—long and slightly rounded at the edges. Lay them gently on a parchment-lined baking sheet, making sure they have enough room to puff up without sticking together.
Step 6: Second Rise and Bake
Cover the shaped buns and let them rise again for 30 minutes until they look puffy and inviting. Meanwhile, preheat your oven to 375°F (190°C). Right before baking, brush the tops of the buns with milk or melted butter—this gives them that irresistible golden shine and a hint of extra flavor. Bake the buns for 15 to 18 minutes until perfectly golden brown, then allow them to cool on a wire rack before slicing.
How to Serve Homemade Soft Hot Dog Buns from Scratch Recipe
Garnishes
These buns are so soft and flavorful, they go beautifully with classic garnishes like mustard, ketchup, relish, and onions. For a twist, try topping your hot dog with sauerkraut, jalapeños, or even coleslaw. The soft bun perfectly complements whatever topping you choose without overpowering it.
Side Dishes
Pair your hot dog in these buns with classic sides such as crispy fries, creamy potato salad, or tangy baked beans. These sides not only balance out the meal but also bring a comforting, nostalgic feel that makes your homemade feast even more enjoyable.
Creative Ways to Present
Get creative by turning your homemade soft hot dog buns into sliders or using them for mini sausage sandwiches at parties. Slice them open and toast lightly with garlic butter for an elevated flavor. You can even use these buns for sweet fillings like nutella and bananas if you want to surprise your guests!
Make Ahead and Storage
Storing Leftovers
If you have any leftovers, store them in an airtight container or resealable bag at room temperature. Your homemade soft hot dog buns will stay fresh and soft for 3-4 days, giving you plenty of time to enjoy them again without losing their tender quality.
Freezing
To keep these buns longer, wrap them tightly in plastic wrap and place them in a freezer-safe bag. They freeze beautifully for up to 3 months. When you’re ready to enjoy, just thaw them overnight at room temperature for the best texture.
Reheating
Reheat your buns gently by wrapping them in foil and warming in a 300°F oven for 10-15 minutes, or just pop them in a toaster oven. This revives their softness and golden crust, making them taste freshly baked all over again.
FAQs
Can I use active dry yeast instead of instant yeast?
Yes! If you have active dry yeast, dissolve it in warm milk with sugar first, then let it sit until frothy before adding the rest of the ingredients. It may take a few extra minutes to activate compared to instant yeast.
What if my dough is too sticky to knead?
Add a little flour, a tablespoon at a time, to the dough as you knead until it becomes smooth and elastic but still slightly tacky. Avoid adding too much flour as it can make the buns dense.
Can I make these buns whole wheat?
Absolutely! Substitute half of the all-purpose flour with whole wheat flour for a nuttier flavor and denser texture. Keep in mind the rise may be a bit slower and the buns heartier, but still delicious.
How do I get a soft crust on the buns?
Brushing the buns with milk or melted butter before baking locks in moisture and promotes a tender, golden crust. Avoid baking for too long to keep the crust from becoming crisp.
Is it necessary to let the dough rise twice?
Yes, the first rise develops flavor and lightness, while the second rise after shaping ensures the buns are airy and soft. Skipping either can result in denser, less tender buns.
Final Thoughts
There’s truly nothing like pulling freshly baked homemade soft hot dog buns from your oven and knowing you made them from scratch. This recipe invites you into the comforting world of homemade baking with simple ingredients and heartfelt effort. Go ahead, give this Homemade Soft Hot Dog Buns from Scratch Recipe a try and make your next hot dog meal extra special—you’ll wonder why you ever settled for store-bought!
Print
Homemade Soft Hot Dog Buns from Scratch Recipe
- Prep Time: 15 minutes
- Cook Time: 18 minutes
- Total Time: 2 hours 3 minutes
- Yield: 8 hot dog buns
- Category: Bread
- Method: Baking
- Cuisine: American
Description
This homemade hot dog bun recipe features soft, fluffy buns made from scratch using simple ingredients like all-purpose flour, yeast, and milk. The dough is kneaded to the perfect elasticity, allowed to rise twice for a light texture, and baked to a golden brown finish. Perfectly sized for any hot dog or sandwich.
Ingredients
Dry Ingredients
- 3 ½ cups all-purpose flour
- 2 ¼ teaspoons instant yeast
- 1 tablespoon sugar
- 1 teaspoon salt
Wet Ingredients
- 1 cup warm milk
- 2 tablespoons butter, softened
- 1 large egg
For Finishing
- 1 tablespoon vegetable oil (for greasing)
- Milk or melted butter for brushing tops
Instructions
- Activate Yeast: In a large bowl, combine the warm milk, sugar, and instant yeast. Let it sit for 5 minutes until the mixture becomes frothy, indicating that the yeast is active.
- Mix Dough: Add the all-purpose flour, salt, softened butter, and egg to the yeast mixture. Mix together until a rough dough forms.
- Knead Dough: Turn the dough onto a floured surface and knead it for 8 to 10 minutes until it is smooth, elastic, and no longer sticky.
- First Rise: Lightly grease a bowl with vegetable oil. Place the kneaded dough inside, cover it, and allow it to rise in a warm place for about 1 hour, or until it doubles in size.
- Shape Buns: Punch down the risen dough to release the air. Divide it into 8 equal portions. Shape each portion into a hot dog bun shape and place the buns on a baking sheet lined with parchment paper.
- Second Rise: Cover the shaped buns and let them rise again for 30 minutes or until they become puffy.
- Preheat Oven: While the buns rise, preheat your oven to 375°F (190°C).
- Prepare for Baking: Brush the tops of the risen buns with milk or melted butter to achieve a golden, glossy finish after baking.
- Bake: Place the baking sheet in the preheated oven and bake the buns for 15 to 18 minutes or until they turn golden brown.
- Cool: Remove the buns from the oven and transfer them to a wire rack to cool completely before slicing and serving.
Notes
- Use warm milk around 100°F to properly activate the yeast but avoid killing it with hot liquid.
- Kneading is crucial for gluten development which gives structure and softness to the buns.
- Allowing the dough to rise twice ensures a light and airy texture in the final buns.
- Brushing tops with milk will give a softer crust; butter will add a richer flavor and shine.
- These buns can be stored in an airtight container for up to 3 days or frozen for up to 2 months.


