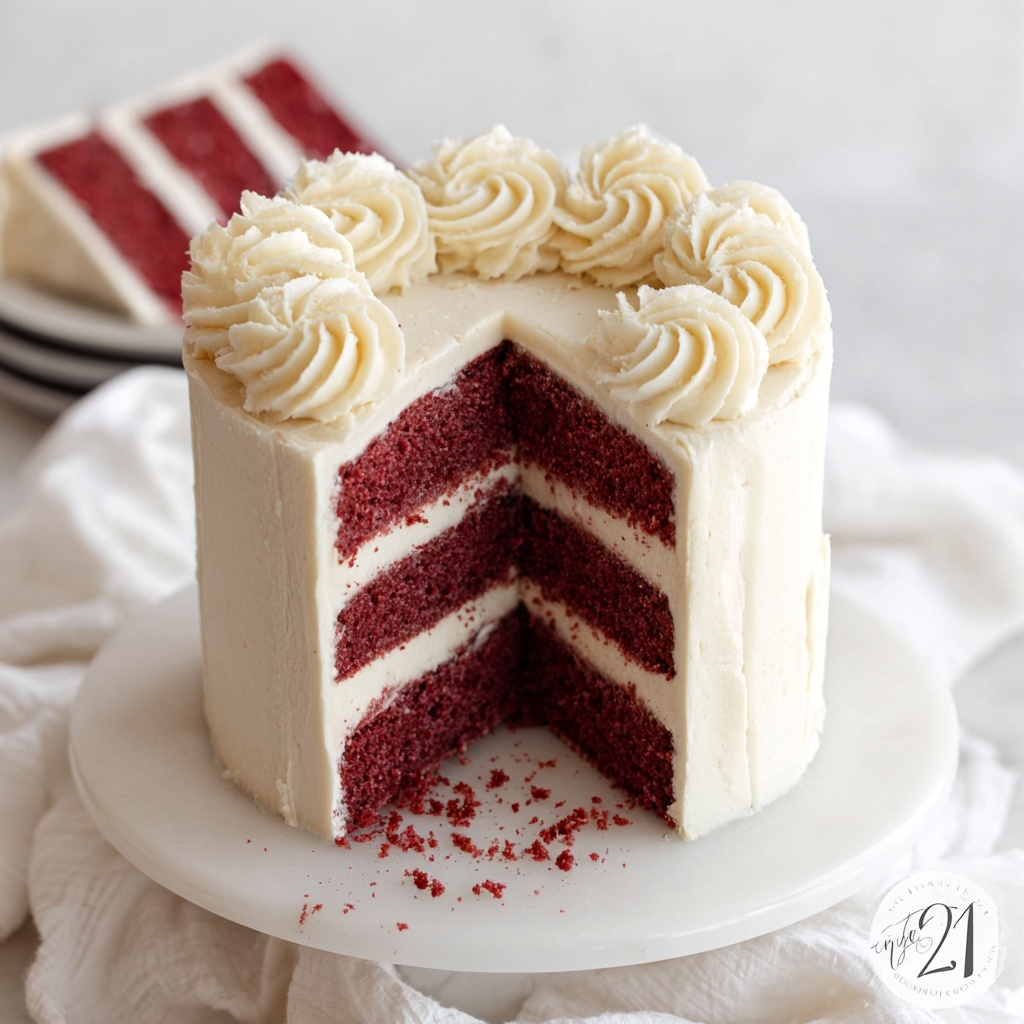
If you’re searching for a dessert that is as dazzling in color as it is delicious in flavor, you’ve got to try this Gluten-Free Red Velvet Cake Recipe. This cake offers the perfect balance of moist, tender crumb and that signature smooth, subtly chocolatey flavor you expect from red velvet. Plus, it’s completely gluten-free, so everyone at the table can indulge in this beautiful, vibrant treat. Whether for a special occasion or just because, this cake is sure to become a new favorite you’ll want to bake again and again.
Ingredients You’ll Need
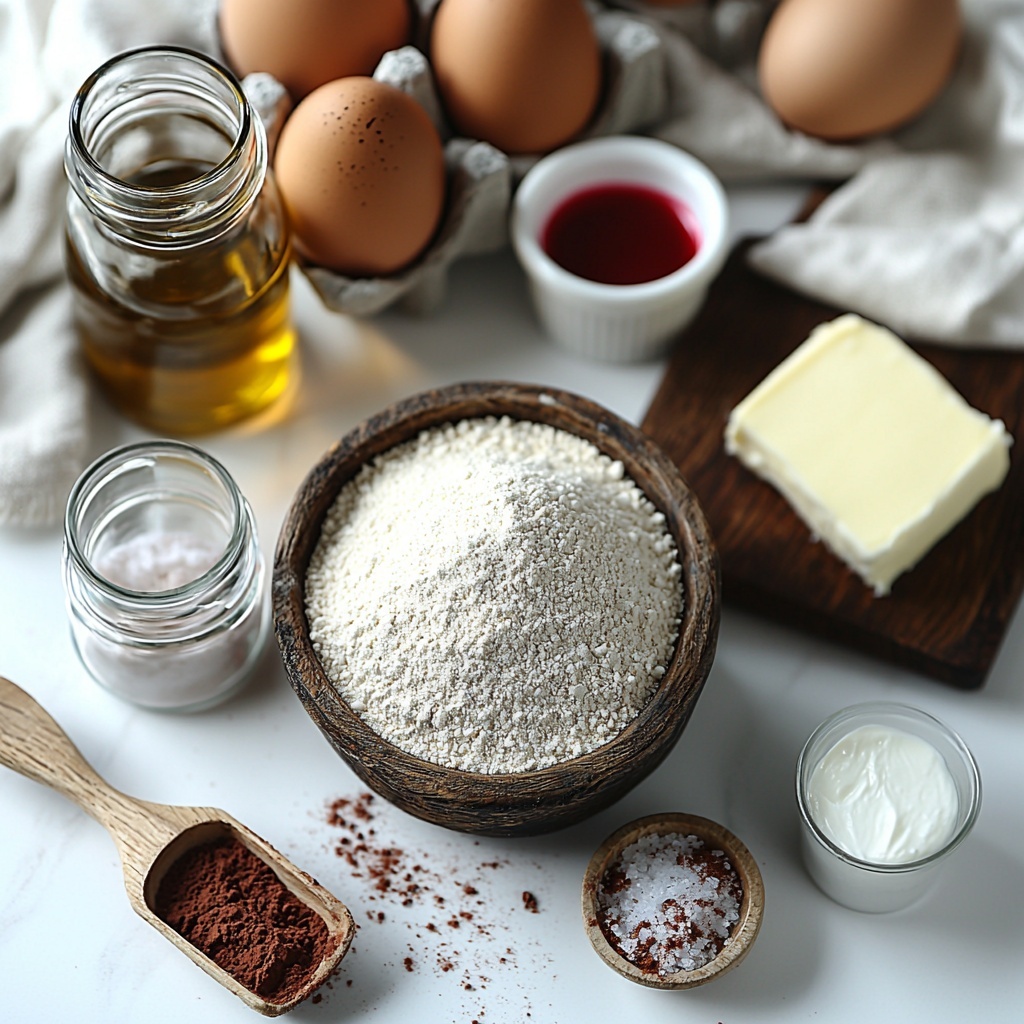
The magic of this cake starts with simple, wholesome ingredients that each play a vital role—from the rich cream cheese frosting to the tender crumb. Every element has been chosen thoughtfully to ensure you get that authentic red velvet experience without gluten.
- 2 1/2 cups gluten-free all-purpose flour: The foundation for a perfectly tender cake, ensuring it’s safe for gluten-sensitive eaters without sacrificing texture.
- 1 1/2 cups granulated sugar: Adds the ideal sweetness that balances the cocoa and tangy elements.
- 2 tablespoons unsweetened cocoa powder: Brings that subtle chocolate flavor crucial to classic red velvet.
- 1 teaspoon baking soda: Helps the cake rise beautifully, creating a light, airy crumb.
- 1/2 teaspoon salt: Enhances the flavors and balances the sweetness.
- 2 large eggs: Bind the ingredients together and provide structure.
- 1 cup vegetable oil: Keeps the cake moist and tender without making it greasy.
- 1 cup buttermilk: Adds tanginess and reacts with baking soda to help the cake rise.
- 2 tablespoons red food coloring: Gives the cake its iconic bright red hue, making it instantly eye-catching.
- 2 teaspoons vanilla extract: Adds warmth and depth to the flavor profile.
- 1 teaspoon white vinegar: Works with buttermilk and baking soda to give the cake a mild lift and enhances the tangy undertone.
- 8 ounces cream cheese: The star ingredient of the frosting, delivering creaminess and slight tang.
- 1/2 cup unsalted butter: Makes the frosting rich and silky.
- 3 cups powdered sugar: Sweetens and thickens the frosting to just the right consistency.
How to Make Gluten-Free Red Velvet Cake Recipe
Step 1: Prepare Your Pans and Oven
Preheat your oven to 350°F (175°C) and generously grease two 9-inch round cake pans. Properly greased pans will prevent your beautiful gluten-free cakes from sticking and make it easier to remove them once baked.
Step 2: Mix Dry Ingredients
In a large bowl, whisk together the gluten-free all-purpose flour, cocoa powder, baking soda, and salt. Combining these first helps distribute the leavening and cocoa powder evenly throughout the batter, which is key for consistent texture and flavor.
Step 3: Combine Wet Ingredients
In a separate bowl, beat the eggs and granulated sugar together until smooth and slightly fluffy. Then, blend in the vegetable oil, buttermilk, red food coloring, vanilla extract, and white vinegar. These wet ingredients create a rich, moist base that carries the vibrant color and tangy notes classic to red velvet.
Step 4: Bring Wet and Dry Ingredients Together
Gradually add the dry mixture to the wet ingredients, stirring gently until just combined. Overmixing can sometimes make gluten-free cakes dense, so stop once you no longer see flour streaks to keep the batter light and airy.
Step 5: Bake the Cake Layers
Divide the batter evenly between the two prepared pans. Bake in your preheated oven for about 30 minutes, or until a toothpick inserted in the center comes out clean. Baking time may vary slightly depending on your oven, so keep a close eye as you reach this mark.
Step 6: Cool Completely
Let the cakes cool in their pans for about 10-15 minutes, then carefully transfer them to a wire rack to cool completely. Cooling is crucial before frosting to avoid melting the cream cheese frosting and to keep your layers intact.
Step 7: Make the Cream Cheese Frosting
In a bowl, beat together the cream cheese and unsalted butter until smooth and fluffy. Gradually add the powdered sugar and continue beating until the frosting is creamy and spreadable. This luscious frosting seals in the cake’s moistness and adds that classic tangy sweetness.
Step 8: Assemble and Frost
Place one cake layer on your serving plate, spread a generous amount of frosting on top, then place the second layer over it. Coat the top and sides with the remaining frosting, smoothing it for an elegant finish or creating swirls for a more rustic look. Your gluten-free red velvet cake is now ready for the spotlight.
How to Serve Gluten-Free Red Velvet Cake Recipe
Garnishes
To make your cake look even more irresistible, consider adding a few simple garnishes. Fresh red berries or a sprinkle of cocoa powder can brighten the presentation. Chopped nuts like toasted pecans add delightful crunch, while edible flowers bring a lovely, delicate touch perfect for celebrations.
Side Dishes
Serve this red velvet cake alongside a light dessert wine, a scoop of vanilla bean ice cream, or a simple fruit salad for a balanced contrast to the rich sweetness. A hot cup of coffee or a creamy chai tea also makes a comforting pairing that your guests will appreciate.
Creative Ways to Present
For a fun twist, try turning the batter into cupcakes for individual servings, then pipe the cream cheese frosting on top with a star tip for a pretty finish. You can also experiment with layering the cake in a trifle bowl with whipped cream and fresh fruit for a stunning dessert centerpiece that’s just as tasty as it looks.
Make Ahead and Storage
Storing Leftovers
If you have any leftover cake, store it covered in an airtight container in the refrigerator. This will keep the frosting fresh and maintain the cake’s tender texture for up to 4 days, so no one has to miss out on a second slice.
Freezing
You can freeze both the cake layers and the frosting separately. Wrap the cooled cake layers tightly in plastic wrap and then in aluminum foil to prevent freezer burn, and store in a freezer-safe container or bag for up to 3 months. Thaw in the refrigerator overnight before assembling and frosting.
Reheating
Since this is a moist cake, it doesn’t need reheating if served chilled. However, if you prefer a room temperature slice, letting it sit on the counter for 30 minutes before serving is best. Avoid microwaving, as it can melt the frosting and alter the cake’s texture.
FAQs
Is this Gluten-Free Red Velvet Cake Recipe suitable for those with celiac disease?
Absolutely! This recipe uses certified gluten-free all-purpose flour without any wheat, making it safe for people with celiac disease or gluten intolerance.
Can I substitute the vegetable oil for another type of fat?
Yes, you can use melted coconut oil or a neutral-tasting oil like canola oil. Just make sure the oil is liquid at room temperature to maintain the cake’s moist texture.
Why is vinegar included in this recipe?
The vinegar reacts with the baking soda, creating a chemical reaction that helps the cake rise and contributes to the tender crumb. It also enhances the slightly tangy flavor traditional of red velvet cake.
Can I make this cake vegan?
This particular recipe includes eggs and dairy, so it’s not vegan as is. However, with some adjustments like using flax eggs and vegan cream cheese, it can be adapted to suit a vegan diet.
How can I make the red color more vibrant naturally?
Natural options like beet juice or powder can replace artificial red food coloring, but the intensity may be subtler. For a true vibrant red velvet color, red food coloring remains the most reliable choice.
Final Thoughts
This Gluten-Free Red Velvet Cake Recipe is an absolute game-changer for anyone craving that iconic cake without gluten worries. Its rich flavor, vibrant color, and creamy frosting make it an unforgettable dessert that’s perfect for any occasion. Don’t hesitate to dive in and make this cake your own—you’ll be amazed at how easy and rewarding it is to create such a stunning treat at home.
Print
Gluten-Free Red Velvet Cake Recipe
- Prep Time: 15 minutes
- Cook Time: 30 minutes
- Total Time: 50 minutes
- Yield: 12 servings
- Category: Dessert
- Method: Baking
- Cuisine: American
- Diet: Gluten Free
Description
This Gluten-Free Red Velvet Cake is a moist, vibrant dessert perfect for those with gluten sensitivities without sacrificing classic flavor. Featuring a tender crumb enriched with cocoa and a tangy cream cheese frosting, it’s ideal for celebrations or everyday indulgence. The recipe yields two 9-inch cake layers with a silky frosting that’s easy to prepare.
Ingredients
Cake Ingredients
- 2 1/2 cups gluten-free all-purpose flour
- 1 1/2 cups granulated sugar
- 2 tablespoons unsweetened cocoa powder
- 1 teaspoon baking soda
- 1/2 teaspoon salt
- 2 large eggs
- 1 cup vegetable oil
- 1 cup buttermilk
- 2 tablespoons red food coloring
- 2 teaspoons vanilla extract
- 1 teaspoon white vinegar
Frosting Ingredients
- 8 ounces cream cheese, softened
- 1/2 cup unsalted butter, softened
- 3 cups powdered sugar
Instructions
- Preheat and Prepare Pans: Preheat your oven to 350°F (175°C) and grease two 9-inch round cake pans to prevent sticking.
- Combine Dry Ingredients: In a medium bowl, whisk together the gluten-free all-purpose flour, unsweetened cocoa powder, baking soda, and salt until evenly mixed.
- Mix Wet Ingredients: In a separate large bowl, beat the eggs and granulated sugar together. Then blend in the vegetable oil, buttermilk, red food coloring, vanilla extract, and white vinegar, ensuring all components are well incorporated.
- Combine Wet and Dry Mixes: Gradually add the dry ingredient mixture to the wet ingredients, stirring gently until just combined to avoid overmixing which could affect texture.
- Bake the Cakes: Evenly divide the batter into the prepared pans. Bake in the preheated oven for about 30 minutes, or until a toothpick inserted into the center of the cakes comes out clean.
- Cool the Cakes: Remove the cakes from the oven and allow them to cool completely on a wire rack to ensure the frosting does not melt.
- Prepare the Frosting: While the cakes cool, beat the softened cream cheese and unsalted butter together until smooth and creamy. Gradually add the powdered sugar and continue beating until the frosting is light and fluffy.
- Assemble and Frost: Once the cakes have fully cooled, spread frosting over one cake layer, top with the second layer, and frost the entire cake evenly. Decorate as desired before serving.
Notes
- Ensure all ingredients are at room temperature for best mixing and texture.
- Use gluten-free all-purpose flour blend that contains xanthan gum or similar binding agents for best results.
- Do not overmix the batter as it can lead to dense cakes.
- You can substitute buttermilk with a mixture of milk and a tablespoon of vinegar or lemon juice if needed.
- Store leftovers covered in the refrigerator and consume within 3-4 days for optimal freshness.
- Bring refrigerated cake to room temperature before serving for the best flavor and texture.


