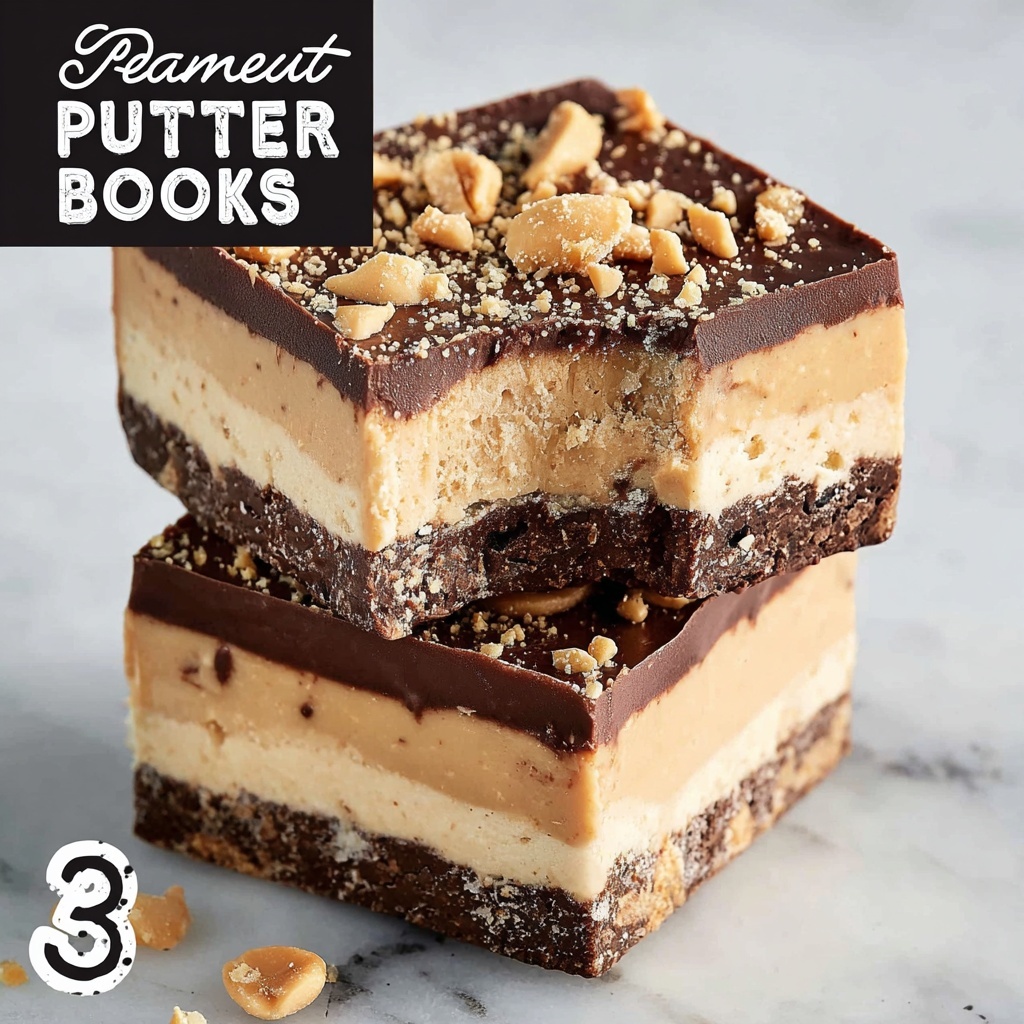
There is something irresistibly nostalgic and delightfully indulgent about the Disneyland Peanut Butter Squares Recipe that captures both the magic of a classic treat and the comfort of homemade goodness. This recipe combines the creamy richness of peanut butter, the satisfying crunch of graham crackers, and luxurious layers of melted chocolate into one unforgettable dessert. Each bite melts in your mouth with a perfect balance of sweet and salty, making these squares a crowd-pleaser at any gathering or a special treat just for yourself. If you’ve been searching for that perfect no-bake, melt-in-your-mouth dessert to brighten your day, this Disneyland Peanut Butter Squares Recipe will quickly become your new favorite!
Ingredients You’ll Need
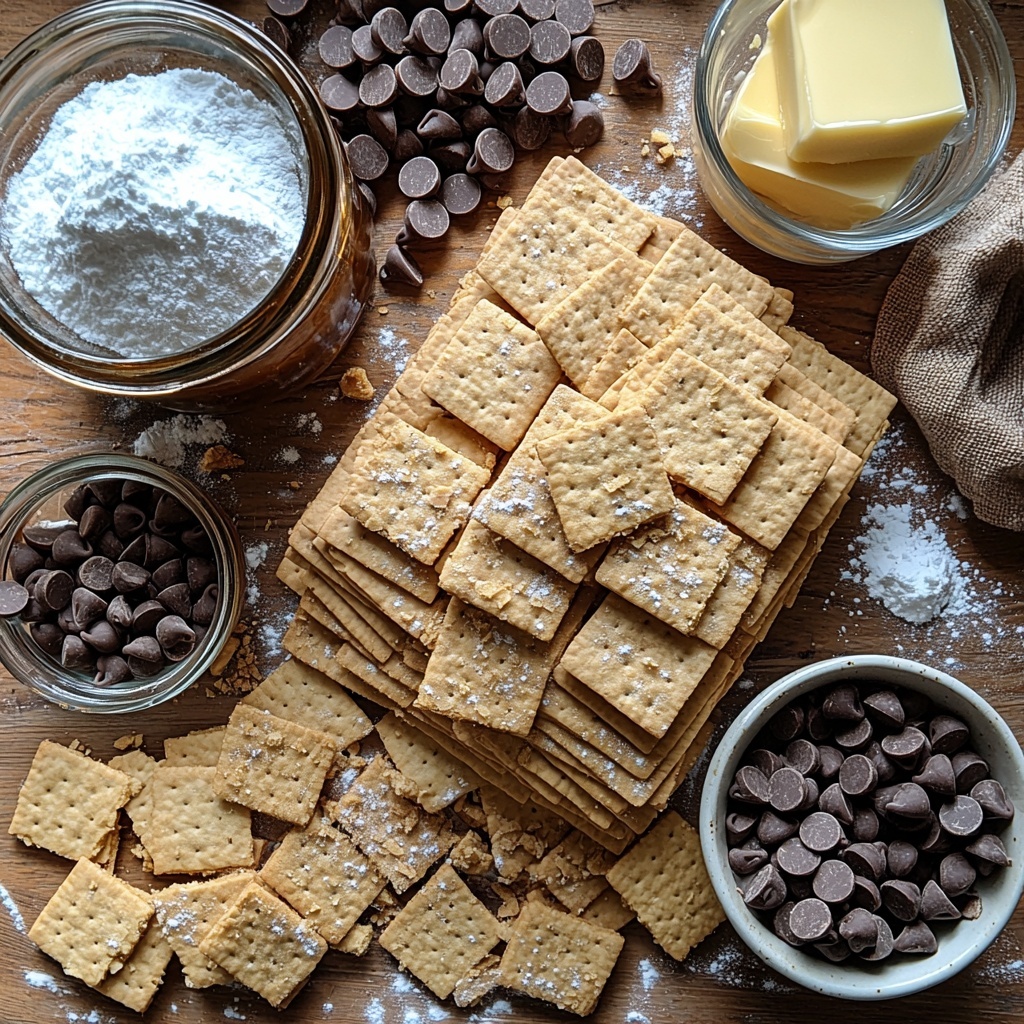
These ingredients are wonderfully simple but essential, each playing a crucial role in delivering that perfect harmony of flavor, texture, and color in your squares. From the crunch of the graham crackers to the silky peanut buttery filling and the glossy chocolate topping, every component shines through.
- Graham cracker sheets: Provides the crunchy base and top layers that add a delightful texture contrast.
- Creamy peanut butter: The rich and smooth heart of the recipe that lends its beloved nutty flavor.
- Butter (softened): Adds creaminess and helps maintain the perfect texture for the peanut butter mixture.
- Vanilla extract: Enhances the overall flavor depth with its subtle sweetness.
- Salt: Balances the sweetness, enhancing the peanut butter’s natural taste.
- Powdered sugar: Sweetens the peanut butter mixture while contributing to its smooth texture.
- Shortening: Helps the melted chocolate achieve a shiny, smooth finish and prevents it from melting too quickly.
- Semi-sweet chocolate chips: The luscious chocolate that ties all the flavors together with a perfect bittersweet touch.
How to Make Disneyland Peanut Butter Squares Recipe
Step 1: Prepare Your Base
Begin by spraying a 9×13-inch glass baking dish with non-stick spray to ensure easy removal later. Then, take two whole graham cracker sheets and crush them into fine crumbs inside a Ziploc bag using a meat mallet or the bottom of a sturdy glass. Set these crumbs aside—they’ll be a perfect crunchy topping at the end.
Step 2: Mix the Peanut Butter Filling
In a large bowl, combine the creamy peanut butter, softened butter, vanilla extract, and salt. Slowly mix in the powdered sugar a little at a time until the mixture is smooth but firm enough to hold together. This is the luscious filling that will make your squares extra dreamy.
Step 3: Melt the Chocolate Layer
In a microwave-safe bowl, combine the semi-sweet chocolate chips with the shortening. Microwave in 30-second intervals, stirring well between each, until the chocolate is completely melted and silky smooth. Be cautious not to overheat it, or the chocolate might seize.
Step 4: Layer the Graham Crackers and Chocolate
Lay six whole graham cracker sheets evenly at the bottom of your prepared baking dish. Pour about one-third of the melted chocolate over this layer, spreading it thinly to cover every cracker for that irresistibly glossy finish that will meld beautifully with the peanut butter later.
Step 5: Add the Peanut Butter Layer
Using your hands, grab fistfuls of the peanut butter mixture and flatten them gently before laying them down on top of the chocolate layer. Do your best to cover all the chocolate without breaking the graham crackers beneath. This peanut buttery layer is the star of the dish, so handle it with care to keep it thick and creamy.
Step 6: Repeat Layers and Garnish
Pour another third of the melted chocolate over the peanut butter mixture, then add another six whole graham cracker sheets as the next layer. Finish by pouring the remaining chocolate over the graham crackers, and finally, sprinkle the crushed graham cracker crumbs on top to add a delightful crunch and visual appeal.
Step 7: Chill and Cut
Allow your beautifully layered dessert to cool in the refrigerator for at least one hour. This chilling step lets the layers set firmly, making it easier to slice into squares without any mess. Once chilled, cut into any size squares you love—big or small, they’re all delicious!
How to Serve Disneyland Peanut Butter Squares Recipe
Garnishes
A simple dusting of extra crushed graham crackers on top adds an inviting crunch and finishes the look. For a little extra flair, a drizzle of melted white chocolate or a sprinkle of sea salt can elevate these squares to show-stopping treats!
Side Dishes
While these squares stand out on their own, serving them alongside a scoop of vanilla ice cream or a cup of strong coffee brings out all their rich flavors even more. For a party, a light fruit salad can balance the richness happily.
Creative Ways to Present
Slice the squares into bite-sized portions and arrange them on a festive platter for easy sharing. Layer individual portions in clear mini cups with alternating layers of whipped cream for a delightful peanut butter parfait twist, perfect for gatherings and potlucks.
Make Ahead and Storage
Storing Leftovers
After enjoying your squares, store any leftovers in an airtight container in the refrigerator. This will keep them fresh and maintain the perfect texture for up to one week, making it easy to satisfy your peanut butter chocolate cravings anytime.
Freezing
These squares freeze wonderfully. Wrap individual pieces tightly in plastic wrap and place them in a freezer-safe container. When you want a quick treat, thaw them in the refrigerator overnight to retain all that creamy, crunchy goodness.
Reheating
Since this dessert is best served chilled, reheating is not recommended. However, if you prefer a softer texture, let the squares come to room temperature before enjoying, allowing the peanut butter and chocolate layers to soften perfectly.
FAQs
Can I use crunchy peanut butter instead of creamy?
Definitely! Using crunchy peanut butter adds a fun texture contrast to the smooth layers, though it might make spreading the filling slightly trickier. Both options taste amazing, so go with what you love.
Is there a substitute for shortening in the chocolate layer?
Yes, you can use coconut oil as a healthier alternative to shortening. It helps create that lovely glossy sheen and keeps the chocolate from hardening too quickly, though it will add a subtle coconut flavor.
Can I make this recipe gluten-free?
Absolutely! Just swap out regular graham crackers for gluten-free versions available in most stores. The rest of the ingredients are naturally gluten-free, so your squares will still taste divine.
How long can Disneyland Peanut Butter Squares Recipe be stored at room temperature?
Since these squares contain butter and peanut butter, it’s best to keep them refrigerated for safety and freshness. At room temperature, they should be eaten within a day to maintain flavor and texture.
Can this dessert be made in smaller or larger pans?
You can absolutely adjust the pan size, but keep in mind that the thickness of the layers will change. For a smaller pan, prep half the recipe, and for larger pans, just double—it’s flexible and forgiving!
Final Thoughts
If you’re craving a simple yet show-stopping dessert to impress friends or indulge yourself, the Disneyland Peanut Butter Squares Recipe is your golden ticket to happiness. It’s easy to make, requires no baking, and combines flavors and textures that feel both nostalgic and new. I hope you give this recipe a try soon—it’s guaranteed to become a beloved staple in your dessert arsenal!
Print
Delicious Recipe
- Prep Time: 20 minutes
- Cook Time: 0 minutes
- Total Time: 1 hour 20 minutes
- Yield: 24 servings
- Category: Dessert
- Method: No-Cook
- Cuisine: American
Description
Disneyland Peanut Butter Squares are rich, layered treats featuring a base of graham crackers topped with creamy peanut butter mixture and smooth chocolate layers. This no-bake dessert is easy to prepare and perfect for satisfying your sweet tooth with contrasting textures and flavors.
Ingredients
Base Layer
- 14 whole graham cracker sheets
Peanut Butter Mixture
- 2 cups creamy peanut butter
- 8 tablespoons butter, softened
- 2 teaspoons vanilla extract
- ½ teaspoon salt
- 3½ cups powdered sugar
Chocolate Topping
- 4 tablespoons shortening
- 4 cups semi-sweet chocolate chips
Instructions
- Prepare the baking dish: Spray a 9×13-inch glass baking dish generously with non-stick spray to prevent sticking.
- Crush graham cracker crumbs: Place 2 whole graham cracker sheets inside a Ziploc bag and crush them into fine crumbs using a meat mallet or the bottom of a glass. Set aside for topping.
- Mix peanut butter filling: In a mixing bowl, combine the creamy peanut butter, softened butter, vanilla extract, and salt. Gradually add the powdered sugar in small amounts, stirring continuously until the mixture is smooth and well combined.
- Melt chocolate: In a microwave-safe bowl, combine semi-sweet chocolate chips and shortening. Heat in 30-second intervals, stirring thoroughly between each, until the mixture is completely melted and smooth. Avoid overheating to prevent burning.
- Layer graham crackers: Lay 6 whole graham cracker sheets evenly on the bottom of the prepared baking dish to form the first layer.
- Add first chocolate layer: Pour about one-third of the melted chocolate over the graham cracker layer, spreading it into a thin, even coating.
- Spread peanut butter layer: Using your hands, take fistfuls of the peanut butter mixture and flatten them. Place the flattened pieces over the chocolate layer, covering as much surface as possible without cracking the graham crackers below. Use all of the peanut butter mixture for this layer.
- Repeat chocolate and graham cracker layers: Pour another one-third of the melted chocolate evenly over the peanut butter layer. Then lay another 6 whole graham cracker sheets on top, followed by the remaining chocolate poured evenly over the final graham cracker layer.
- Top with crumbs: Sprinkle the reserved crushed graham cracker crumbs over the top chocolate layer for added texture and presentation.
- Chill and serve: Place the assembled dish in the refrigerator and let it cool for at least 1 hour to set. Once firm, cut into squares of your preferred size and serve.
Notes
- Make sure the butter is softened to room temperature for easier mixing.
- When melting chocolate, stir frequently to avoid scorching.
- Use a glass or ceramic dish to evenly set the squares without sticking.
- Chilling for longer than an hour will firm up the squares further and make cutting easier.
- Store leftovers in an airtight container in the refrigerator for up to 5 days.

