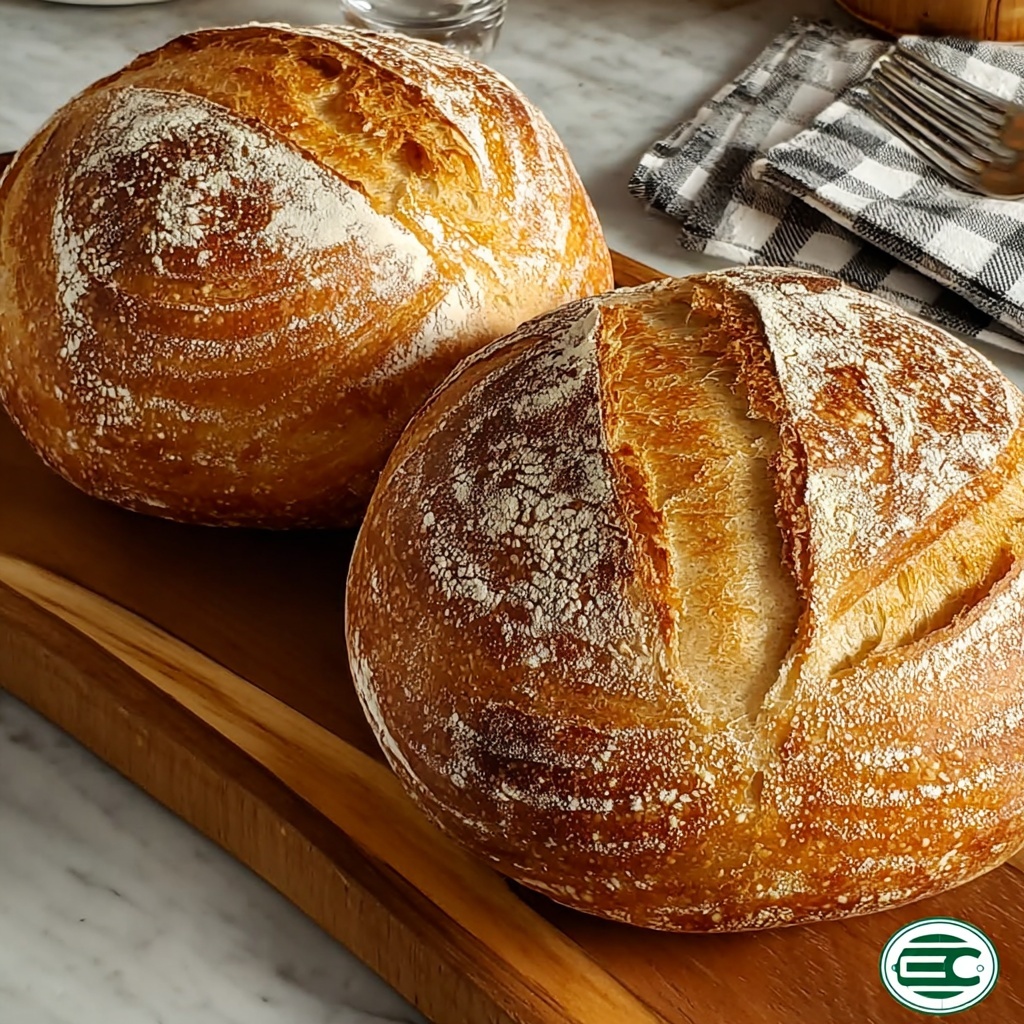
If you have ever dreamed of baking an authentic, hearty loaf right in your own kitchen, this Rustic German Bread Recipe is your new best friend. It is a wonderfully simple recipe that delivers a crusty exterior with a tender, flavorful crumb inside, offering a taste of traditional German baking that’s both comforting and impressive. Whether you’re a seasoned baker or just starting out, this bread will quickly become your go-to for sandwiches, toasts, or simply enjoying with a pat of butter.
Ingredients You’ll Need
Ingredients You’ll Need
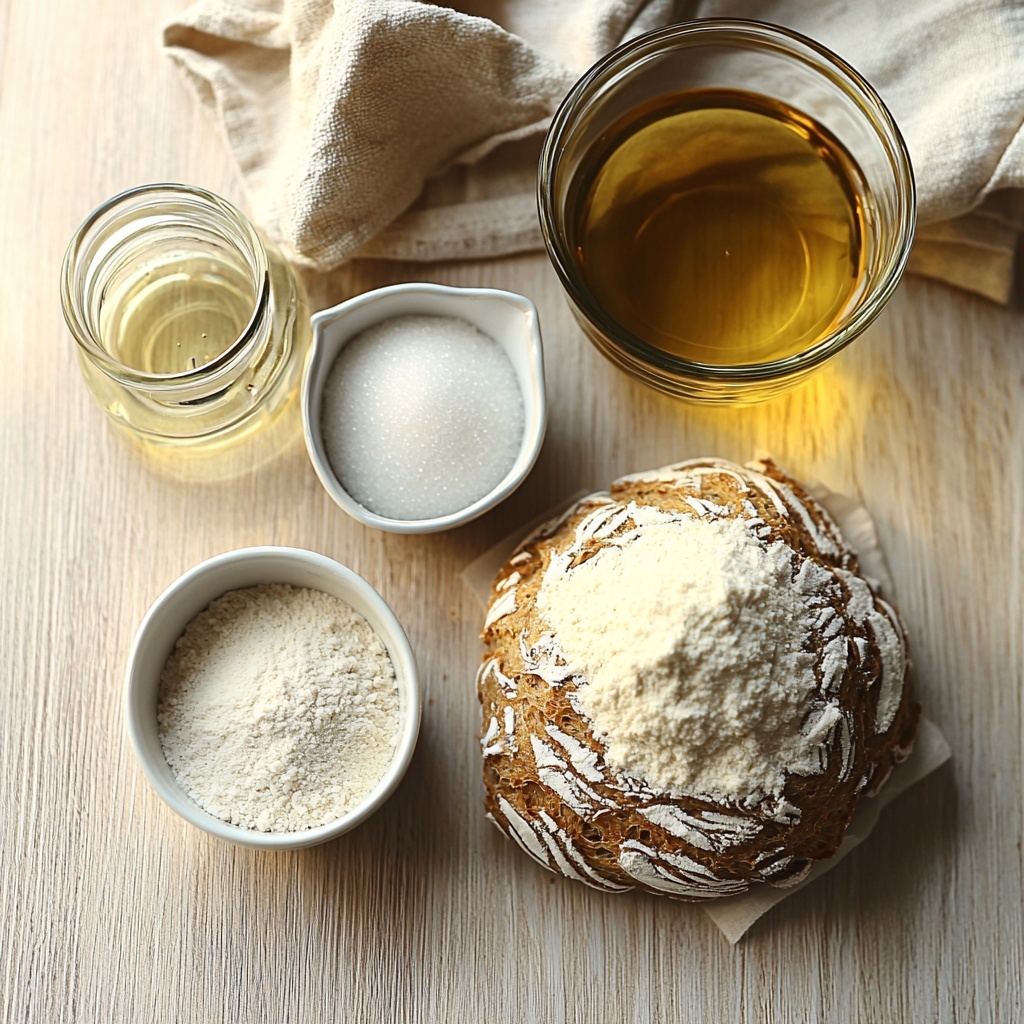
This Rustic German Bread Recipe calls for just a handful of straightforward ingredients, each playing a vital role in creating that perfect balance of flavor and texture. These simple pantry staples combine effortlessly to bring you truly authentic homemade bread.
- 350 ml water (room temperature): Essential for activating the yeast and hydrating the flour to form a smooth dough.
- 1 tablespoon sugar: Feeds the yeast to promote a lovely, airy rise and adds a subtle sweetness to the bread.
- 8 grams dry yeast: The magic ingredient that makes your dough rise and develop that irresistible, fluffy texture.
- 25 ml sunflower oil: Adds moisture and a delicate richness while helping to keep the crumb tender.
- 500 grams flour (plus extra for dusting): Provides the structure for the bread, with extra flour on hand to keep the dough from sticking as you work.
How to Make Rustic German Bread Recipe
Step 1: Yeast Activation
Start by mixing the room-temperature water with sugar and dry yeast in a large bowl. Stir gently until everything is dissolved. Now, cover the bowl and let it sit for about 5 minutes. You’ll know it’s ready when the mixture develops a frothy, bubbly surface—that lively sign your yeast is waking up and ready to work some magic.
Step 2: Add Oil and Flour
Once your yeast mixture is frothy, add the sunflower oil. Then, gradually sift in the flour while stirring gently. This careful incorporation helps create a smooth dough without lumps and ensures an even texture that will bake up beautifully.
Step 3: First Rise
Mix all ingredients together until you get a sticky dough. Cover the bowl with a clean towel or plastic wrap and place it somewhere warm. Give it about 1 hour to rise until it doubles in size—this rise is what gives your bread lightness and structure.
Step 4: Second Mixing
After the first rise, give the dough a good stir to release air pockets that have formed. Then cover it again and allow it to rest for another 30 minutes. This resting period helps gluten develop, which will give your bread its signature chewy and satisfying texture.
Step 5: Shape the Dough
Lightly dust your work surface with flour, then roll out the dough into a rectangle. Fold it gently and let it rest for 10 minutes before shaping it into your preferred form—whether that’s a classic loaf, a round boule, or smaller rolls. This step is where your creativity shines.
Step 6: Final Shaping and Baking
Transfer the shaped dough onto a lined baking tray. Use a sharp knife to make decorative slashes on top—these slashes not only look stunning but also help control how the bread expands while baking. Preheat your oven to 230°C (446°F) and bake your bread for 30 to 40 minutes until it turns a gorgeous golden brown with a crisp crust.
Step 7: Cool and Serve
Remove your bread from the oven and place it on a wire rack to cool. This prevents sogginess and lets the crust firm up to perfection. Serve it warm or at room temperature, and get ready to enjoy the rewarding taste of your Rustic German Bread Recipe!
How to Serve Rustic German Bread Recipe
Garnishes
A fresh loaf of Rustic German Bread is delightful on its own, but you can elevate it by adding toppings such as a sprinkle of kosher salt, a drizzle of high-quality olive oil, or a slather of softened herb butter. These simple garnishes make each bite even more memorable without overpowering the natural flavor of the bread.
Side Dishes
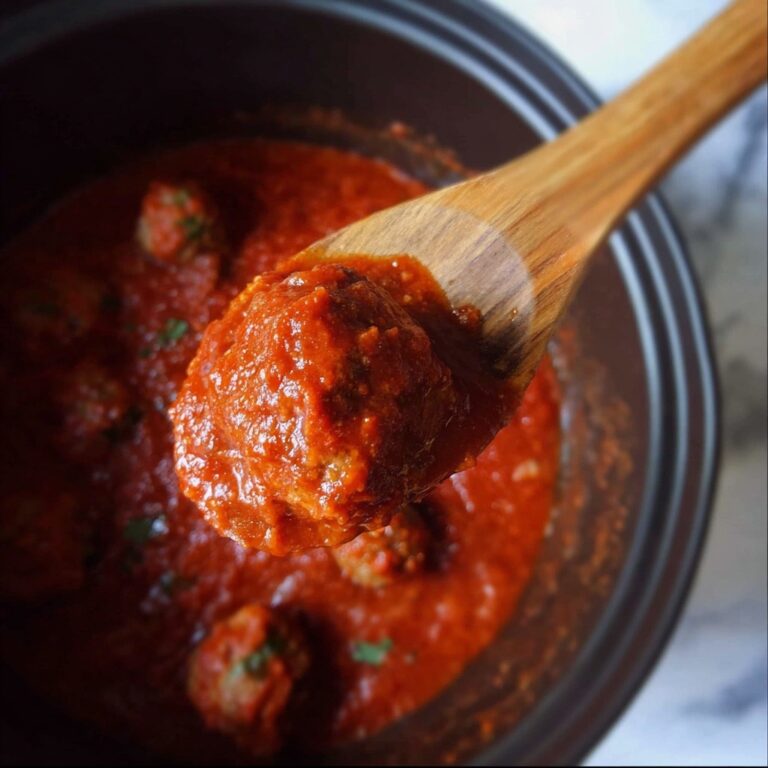
This bread is a perfect companion to a wide variety of dishes. Think hearty German sausages, creamy cheeses, or robust stews and soups. It also pairs wonderfully with spreads like tangy mustard, smoked salmon, or a dollop of hummus. The bread’s rustic texture is ideal for soaking up sauces and enhancing every meal.
Creative Ways to Present
Impress your guests by turning your Rustic German Bread into an eye-catching centerpiece. Hollow out a round loaf to make a rustic bread bowl filled with warm soup or a creamy dip. Alternatively, slice thick pieces for bruschetta topped with fresh tomatoes, basil, and garlic, or toast slices and assemble open-faced sandwiches with seasonal toppings.
Make Ahead and Storage
Storing Leftovers
Once your bread has cooled completely, store it in a paper bag or wrapped in a clean kitchen towel at room temperature. This method keeps the crust crisp while maintaining a soft interior. Enjoy any leftovers within 3 to 4 days for the best taste and texture.
Freezing
If you want to keep your Rustic German Bread Recipe fresh longer, freezing is a great option. Slice the bread first for convenience, wrap it tightly in plastic wrap, then place it in an airtight freezer bag. Frozen bread will stay at its best for up to 3 months without losing flavor or texture.
Reheating
To enjoy your bread fresh from frozen, thaw slices at room temperature or toast them directly from the freezer. You can also warm the whole loaf in an oven preheated to 180°C (356°F) for about 10 minutes to refresh that lovely crust and soften the crumb.
FAQs
Can I use a different type of flour for the Rustic German Bread Recipe?
Absolutely! While all-purpose flour works well, using bread flour will give you a chewier texture, and whole wheat flour can add a nuttier flavor. Just keep in mind, whole wheat might require a bit more water to keep the dough from becoming too stiff.
Do I have to use sunflower oil, or can I substitute it?
You can swap sunflower oil with other mild-flavored oils such as vegetable or canola oil. Olive oil is also an option but will add a more pronounced flavor, which could change the traditional taste of this bread slightly.
Why is the dough sticky, and is that normal?
Yes, it’s perfectly normal for this dough to be sticky—that’s part of what gives your bread a wonderfully soft crumb. If it’s too sticky to handle, dust your hands and work surface lightly with flour, but avoid adding too much flour to keep the bread tender.
Can I prepare this dough ahead of time?
Definitely! You can prepare the dough and place it in the refrigerator after the first rise for up to 12 hours. Just take it out and let it come to room temperature before proceeding with the second rise and baking.
What does the decorative slashing do?
Slashing the dough before baking controls where the bread will expand in the oven, preventing random bursts. It also creates a beautiful, rustic look that’s characteristic of traditional German bread, giving that artisanal appeal every slice deserves.
Final Thoughts
There’s something truly special about baking your own bread, and this Rustic German Bread Recipe makes it easy, fun, and incredibly rewarding. From the simple ingredients to the crusty, golden finish, it’s a wonderful way to bring authentic German flavors into your kitchen. So grab your mixing bowl, and get ready to impress yourself and everyone you share it with!
Print
Rustic German Bread Recipe
- Prep Time: 10 minutes
- Cook Time: 30-40 minutes
- Total Time: 2 hours 25 minutes
- Yield: 1 loaf (about 1 kg)
- Category: Bread
- Method: Baking
- Cuisine: German
Description
Rustic German Bread is a hearty, artisanal loaf featuring a crunchy crust and soft, airy interior. Made with simple ingredients like flour, water, sunflower oil, sugar, and yeast, this bread highlights traditional German baking techniques with a double rise for optimal texture and flavor.
Ingredients
Yeast Mixture
- 350 ml water (room temperature)
- 1 tablespoon sugar
- 8 grams dry yeast
Dough
- 25 ml sunflower oil
- 500 grams flour (plus extra for dusting)
Instructions
- Yeast Activation: In a large bowl, combine 350 ml of room temperature water with 1 tablespoon of sugar and 8 grams of dry yeast. Stir until the sugar and yeast dissolve completely, then cover the bowl and let it sit for 5 minutes until the mixture becomes frothy, indicating the yeast is active.
- Add Oil and Flour: Pour 25 ml of sunflower oil into the yeast mixture. Gradually sift in 500 grams of flour while stirring to incorporate all the ingredients evenly and form the dough.
- First Rise: Mix the dough until it becomes sticky and uniform. Cover the bowl and set it in a warm place for about 1 hour, or until the dough has doubled in size, allowing the yeast to ferment and develop flavor.
- Second Mixing: Stir the risen dough gently to release trapped air bubbles. Cover it again and let it rest for an additional 30 minutes to allow gluten to develop, enhancing the bread’s texture.
- Shape the Dough: Lightly dust a clean surface with flour. Roll out the dough into a rectangle, fold it, and let it rest for 10 minutes. Then shape the dough into your preferred form—whether a loaf, boule, or individual rolls.
- Final Shaping and Baking: Place the shaped dough on a baking tray lined with baking paper. Use a sharp knife to make decorative slashes on the surface for steam release and aesthetic appeal. Preheat your oven to 230°C (446°F) and bake for 30 to 40 minutes, until the crust turns a deep golden brown.
- Cool and Serve: Once baked, remove the bread from the oven and transfer it to a wire rack to cool. Serve warm or at room temperature to enjoy the authentic rustic flavor and texture.
Notes
- Ensure the water is at room temperature to properly activate the yeast.
- Do not add too much flour; the dough should be slightly sticky for the best crumb.
- Resting times are crucial for gluten development and texture.
- Decorative slashes help control the expansion of the bread and create an appealing look.
- Cooling on a rack prevents a soggy bottom and preserves the crust’s crispness.


