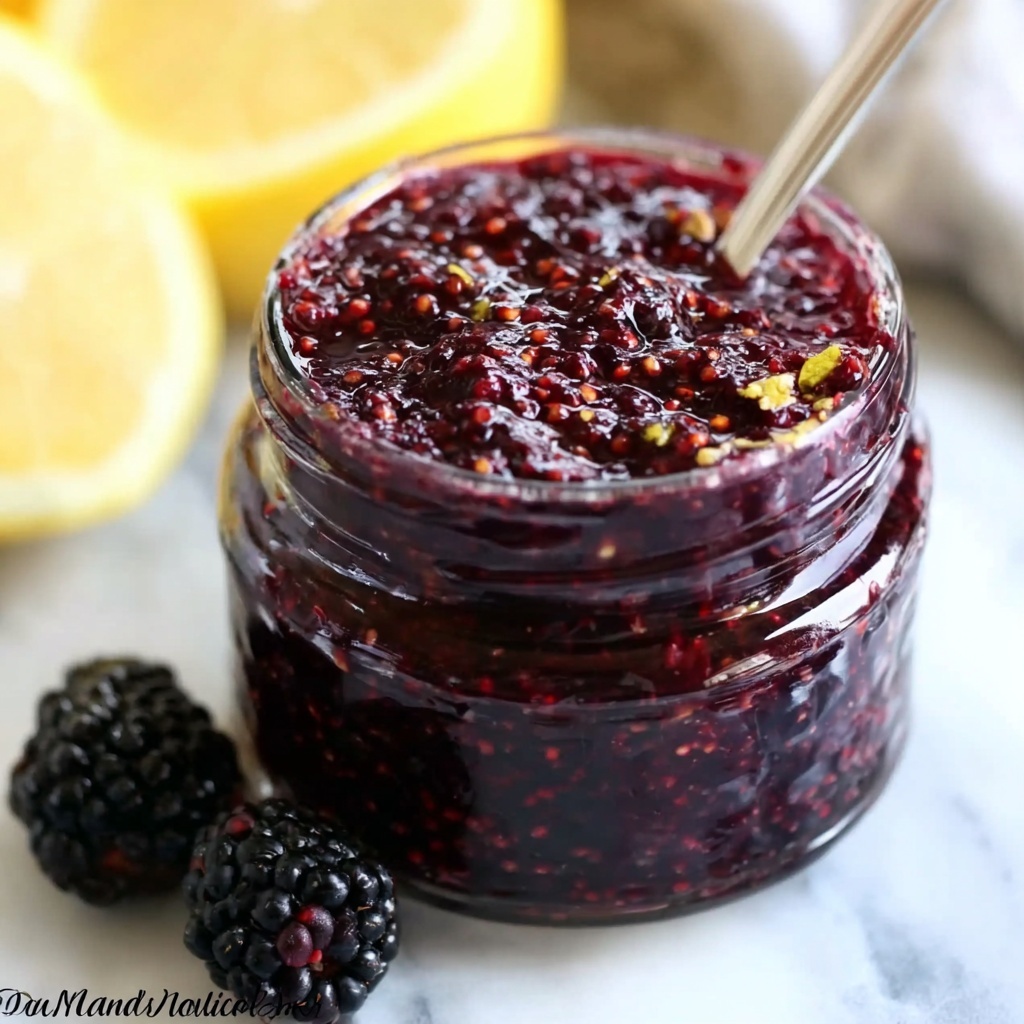
If you’re a berry lover, there’s truly nothing like savoring a spoonful of fresh, luscious jam that you made yourself. This Homemade Blackberry Jam Recipe is a delightful way to capture the vibrant flavors of ripe blackberries in a jar. It’s bursting with natural sweetness and tangy brightness, perfect for brightening up your morning toast or elevating a simple dessert. What makes this recipe so special is its straightforward approach combined with a deeply satisfying texture and aroma that only homemade jam can offer. Once you taste this, you’ll be hooked on preserving the essence of summer no matter the season.
Ingredients You’ll Need
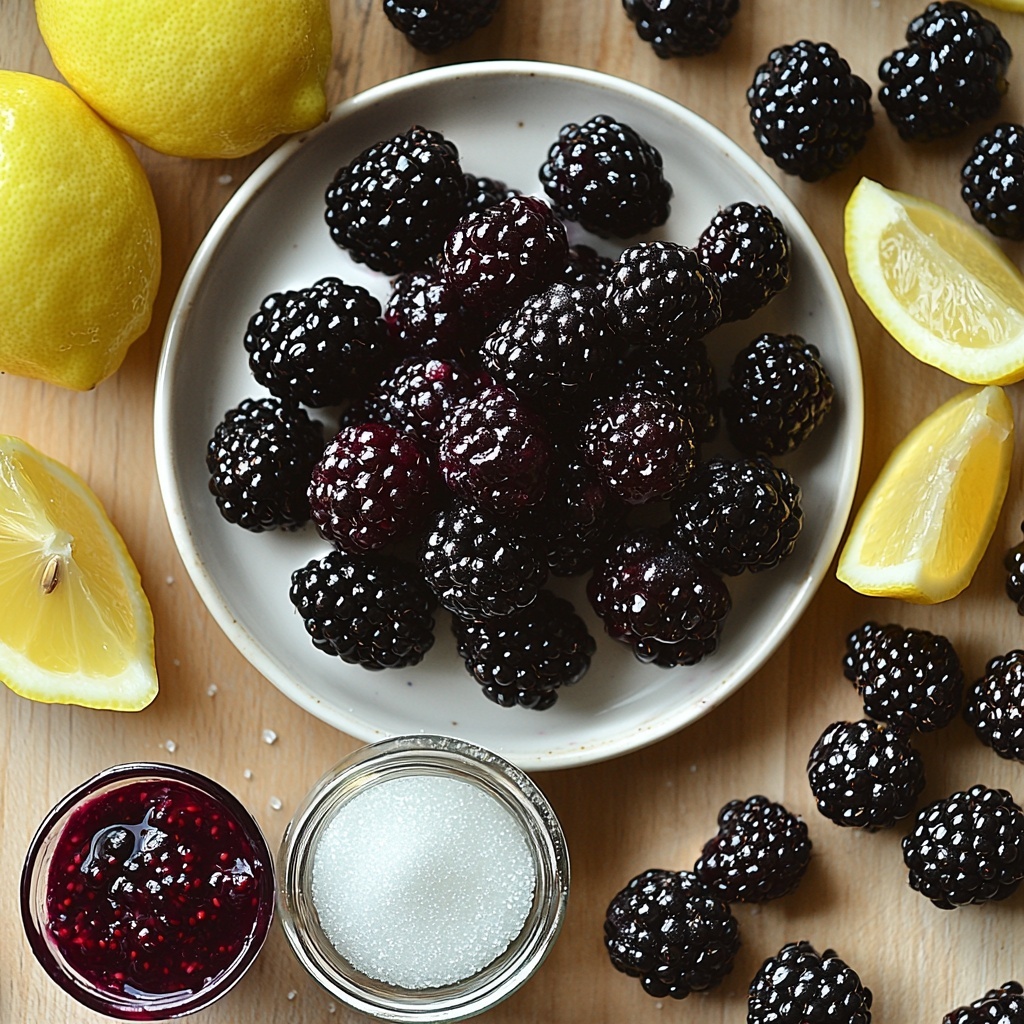
Crafting this Homemade Blackberry Jam Recipe only requires a handful of ingredients, each playing a vital role in creating the perfect balance of flavor, sweetness, and consistency. Every element is simple yet essential, making this a perfect recipe for both beginners and seasoned cooks.
- Fresh or frozen blackberries: About 2.5 quarts or 8 cups provide the rich, juicy foundation for the jam.
- Lemon juice: Adds brightness and preserves the color, balancing the sweetness naturally.
- Granulated sugar: Seven cups to sweeten the jam and help it set with a glossy finish.
- Liquid fruit pectin (Sure-Jell / Certo): Essential for achieving the ideal gel-like texture.
How to Make Homemade Blackberry Jam Recipe
Step 1: Prepare Your Jars and Ingredients
If you’re planning to can your jam, start by sterilizing your jars and lids in a boiling water bath. This step ensures your jam stays fresh and safe to store for months. Meanwhile, rinse your blackberries just before using to maintain their fresh flavor and texture.
Step 2: Crush and Simmer the Blackberries
Add the blackberries and lemon juice to a large saucepan and use a potato masher to gently crush the berries. Simmer on medium heat for a few minutes until the berries truly break down, releasing their natural juices and deep color.
Step 3: Strain for a Smoother Jam (Optional)
For those who prefer a smoother texture, pass the cooked fruit mixture through a food mill or fine mesh strainer to remove most of the seeds. This step is optional but highly recommended for classic blackberry jam’s velvety mouthfeel.
Step 4: Combine Blackberry Juice and Seeds
Measure out 4 cups of the strained blackberry juice into a heavy-bottomed pot. If you reserved some seeds, stir in 2 to 3 spoonfuls to give the jam a nice, traditional texture that isn’t too seedy but still packed with character.
Step 5: Add Sugar and Dissolve
Add the sugar to the pot, stirring thoroughly. Cook the mixture over medium-low heat, stirring occasionally until the sugar completely dissolves into the fruit juice. This slow integration is key to preventing granulated sugar’s grittiness.
Step 6: Boil with Pectin to Set
Turn up the heat to medium-high and bring the mixture to a full rolling boil, stirring constantly so nothing sticks or burns. Pour in the liquid pectin and maintain the boil for exactly one minute before removing from heat. This precise timing ensures your jam sets perfectly without being too runny or too firm.
Step 7: Jar and Seal
Carefully ladle the steaming jam into your sterilized jars, leaving a bit of headspace. Seal immediately with the lids. Whether you choose to freeze or can the jam, this step locks in freshness and flavor.
How to Serve Homemade Blackberry Jam Recipe
Garnishes
Sprinkle some fresh blackberry halves or a few mint leaves on top when serving. This adds a beautiful burst of color and a fresh note that complements the jam’s rich sweetness perfectly.
Side Dishes
Homemade blackberry jam pairs beautifully with a variety of foods from buttery croissants to creamy cheeses like brie or mascarpone. It’s a lovely addition to morning yogurt bowls or as a fruity glaze over grilled meats.
Creative Ways to Present
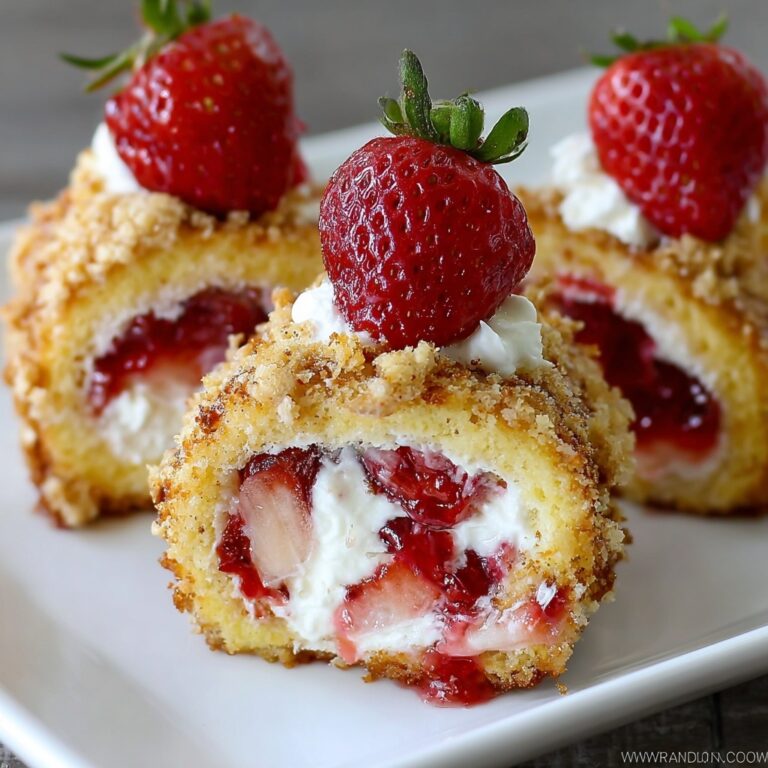
Try swirling this jam into cheesecake batter or dolloping it atop vanilla ice cream. You can even stuff thumbprint cookies or swirl it into smoothie bowls for an extra touch of homemade love.
Make Ahead and Storage
Storing Leftovers
Keep your Homemade Blackberry Jam Recipe in the refrigerator if you plan to enjoy it within a month. Make sure the jar is tightly sealed and use a clean spoon each time to keep it fresh and delicious.
Freezing
This jam freezes wonderfully, maintaining its flavor and texture for up to a year. Use freezer-safe containers or jars, leaving some space for expansion, and simply thaw in the refrigerator before use.
Reheating
If your jam becomes too firm in the fridge or freezer, warm it gently in a saucepan over low heat while stirring. Reheating will soften it up without compromising taste, perfect for spreading easily on your favorite toast.
FAQs
Can I use frozen blackberries instead of fresh?
Absolutely! Frozen blackberries work perfectly in this Homemade Blackberry Jam Recipe. Just thaw them and drain any excess liquid before starting the recipe to prevent dilution.
Why is lemon juice important in jam making?
Lemon juice adds acidity that balances the sweetness and helps the pectin set properly. It also preserves the jam’s bright color and fresh flavor over time.
What if I don’t have liquid pectin?
Liquid pectin is key to achieving the right jam consistency. If you can’t find it, you can try powdered pectin but adjust the quantities and follow the product’s specific instructions carefully.
Can I reduce the sugar in this recipe?
Sugar is vital both for sweetness and for the jam’s texture and preservation. You can experiment with slightly less, but it may affect the setting and shelf life of your jam.
How long does homemade blackberry jam last?
Properly canned jars can last up to a year stored in a cool, dark place. Refrigerated jam lasts around one month, and frozen jam can be kept for about a year without losing flavor.
Final Thoughts
There’s something truly magical about making your own jam, and this Homemade Blackberry Jam Recipe is a wonderful gateway into that delicious world. It’s simple, satisfying, and the kind of treat that brings warmth to mornings and joy to any snack time. I promise once you try it, you’ll find yourself reaching for that jar again and again. Give it a go, and enjoy the sweet taste of homemade goodness!
Print
Homemade Blackberry Jam Recipe
- Prep Time: 10 minutes
- Cook Time: 20 minutes
- Total Time: 30 minutes
- Yield: 20 servings (approximately 5 to 6 half-pint jars)
- Category: Jam & Preserves
- Method: Stovetop
- Cuisine: American
- Diet: Vegetarian
Description
This homemade blackberry jam recipe offers a delicious way to preserve the fresh, sweet taste of blackberries with a classic balance of sugar and lemon juice. Using fruit pectin ensures a perfect gel consistency without the wait, making it simple to create vibrant, spreadable jam ideal for toast, desserts, or gifts. The recipe includes optional steps for smoother jam texture and detailed instructions for both freezer and canning preservation methods.
Ingredients
Fruit Base
- 2.5 quarts fresh or frozen blackberries (about 8 cups)
- 2 tablespoons lemon juice
Sweetener & Thickener
- 7 cups granulated sugar
- 1 packet liquid fruit pectin (Sure-Jell or Certo)
Instructions
- Prepare for Canning (optional): If you plan to can the jam, begin by preparing a boiling water bath and sterilizing your jars and lids to ensure a safe preservation process.
- Rinse Blackberries: Rinse the blackberries thoroughly just before use to remove any debris or impurities.
- Mash and Simmer Fruit: Place the berries in a large saucepan with lemon juice and mash them using a potato masher. Simmer over medium heat for a few minutes until the fruit breaks down and releases its juices.
- Strain Seeds (optional): For a smoother jam texture, pass the mixture through a food mill or fine mesh strainer to remove most seeds. This step is optional but recommended.
- Measure Juice for Jam Base: Measure out 4 cups of the blackberry juice into a large, heavy-bottomed pot. Stir in 2–3 spoonfuls of reserved seeds to retain a classic jam texture that balances smoothness and seediness.
- Add Sugar: Add the granulated sugar to the juice and stir well to combine.
- Dissolve Sugar: Cook the mixture over medium-low heat, stirring occasionally, until the sugar is fully dissolved.
- Boil the Mixture: Increase heat to medium-high and bring the mixture to a full rolling boil, stirring constantly to prevent burning.
- Add Pectin and Boil: Stir in the liquid fruit pectin and continue stirring as the jam returns to a full boil. Boil for exactly 1 minute, then remove from heat.
- Jar the Jam: Carefully pour the hot jam into your prepared jars and seal them with lids.
- Freezer Storage Method: Allow the jam to cool at room temperature for 24 hours. Store it in the refrigerator for up to 1 month or freeze for up to 1 year for longer preservation.
- Canning Storage Method: Process the sealed jars in a boiling water bath for 10 minutes (adjust for altitude if necessary). Let jars rest undisturbed for 24 hours, check the seals, and store in a cool, dry place for up to 1 year.
Notes
- Using fresh or frozen blackberries will work; frozen may require slightly longer cooking time.
- The optional straining step improves jam texture by removing most seeds but will reduce seediness.
- Stir constantly during boiling to avoid scorching the jam.
- If high altitude, increase boiling water bath time to ensure proper sealing during canning.
- Leftover jam can be refrigerated up to 1 month or frozen up to 1 year – freeze in airtight containers.
- Always sterilize jars and lids for safety if using the canning method.
