“`html
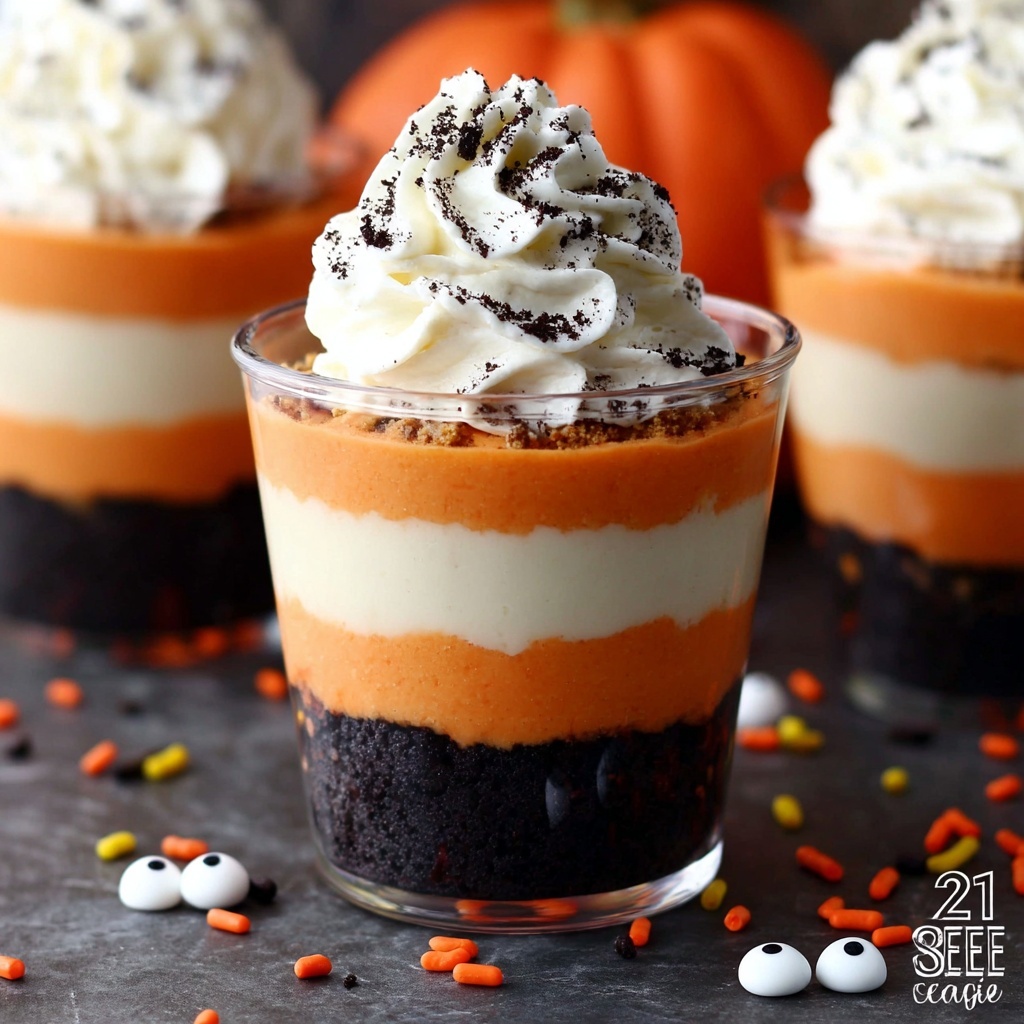
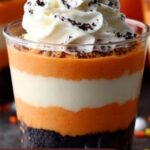
If you are craving a festive treat that captures all the fun and flavors of Halloween without turning on your oven, you have to try this No-Bake Halloween Cheesecake Cups Recipe. Imagine layers of crushed Oreos providing a perfect cookie crunch, a luscious blend of creamy orange cheesecake filling, and the lightest, fluffiest Cool Whip atop each cup—making every bite a delightful Halloween celebration. These individual cups are not only adorable but also incredibly easy to make, perfect for parties or a festive family dessert.
Ingredients You’ll Need
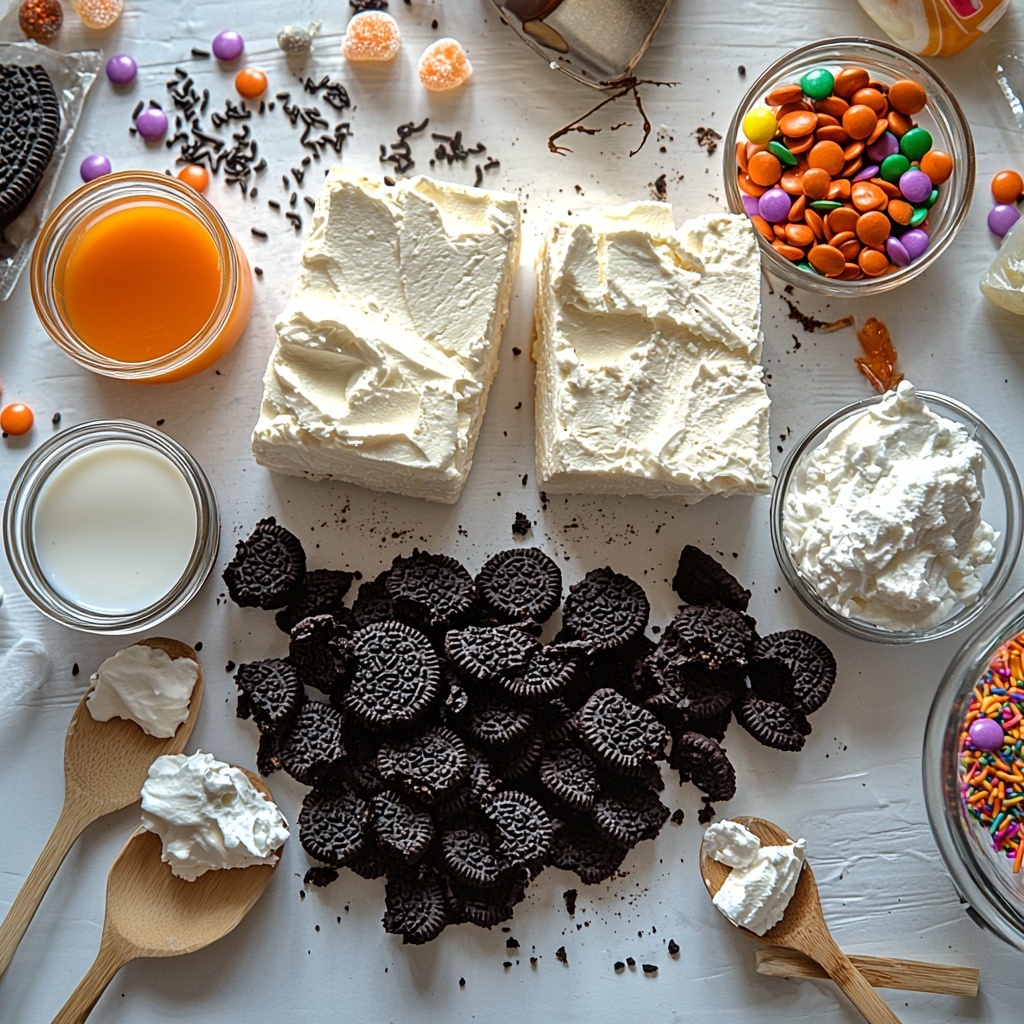
One of the best parts about this No-Bake Halloween Cheesecake Cups Recipe is how straightforward and approachable the ingredients are. Each component plays a vital role to deliver an irresistible combination of creamy, crunchy, and colorful layers that scream Halloween fun.
- Oreos (18 cookies): Half crushed for the base and half for the topping, they add that essential chocolate crunch.
- Cream cheese (2 packages, 8 ounces each, softened): Provides a rich, tangy cheesecake base that’s heavenly smooth.
- Powdered sugar (1 ½ cups): Sweetens the cheesecake filling without any graininess.
- Milk (2 Tablespoons): Helps achieve the perfect cheesecake texture, balancing thickness and creaminess.
- Vanilla extract (1 ½ Tablespoons): Adds warmth and depth to the cheesecake flavor.
- Cool Whip (1 container, 8 ounces, thawed and divided): Brings airy fluffiness to lighten the cheesecake layers and the final topping.
- Orange gel food coloring: Infuses that vibrant, spooky orange hue to one half of the cheesecake filling.
- Halloween sprinkles and candy: Your fun finishing touches for an exciting and festive presentation.
How to Make No-Bake Halloween Cheesecake Cups Recipe
Step 1: Create the Oreo Base
Start by crushing 9 of the Oreo cookies until you have fine crumbs. Evenly divide these crumbs among seven 8-ounce clear cups to form a crunchy base that adds fantastic texture against the creamy layers atop.
Step 2: Mix the Cheesecake Filling
In a large mixing bowl, beat together the softened cream cheese, powdered sugar, milk, and vanilla extract until the mixture is completely smooth and creamy. This is the luscious foundation of your cheesecake cups.
Step 3: Fold in Cool Whip
Gently fold in 2 cups worth of the thawed Cool Whip. This step is key as it lightens the cheesecake mix, giving you a fluffy texture that feels like a cloud of dessert in every spoonful.
Step 4: Divide and Color the Mixtures
Split the cheesecake mixture evenly into two bowls. Add orange gel food coloring to one half to create that unmistakable Halloween orange color. Leave the other half white for contrast. You now have two gorgeous mixtures ready to layer.
Step 5: Assemble the First Cheesecake Layer
Using a spoon or piping bag, add 3 tablespoons of the white cheesecake mixture over the Oreo crumbs in each cup. Smooth out gently to form an even, creamy layer that will serve as the perfect base for the next cookie layer.
Step 6: Add the Second Oreo Layer
Crush the remaining 9 Oreos and sprinkle roughly 1/4 cup of these crumbs over the white cheesecake layer in each cup. This layer adds a delightful crunch and breaks up the creaminess for an exciting texture combination.
Step 7: Add the Orange Cheesecake Layer
Next, gently spoon or pipe 3 tablespoons of the orange cheesecake mixture on top of the cookie crumbs. Press lightly with a spoon to achieve a smooth, even layer that makes the cups irresistibly inviting.
Step 8: Chill the Cups
Cover your cups tightly and refrigerate them for at least 2 hours to allow the cheesecake filling to set properly. This chilling step is important for the perfect texture and flavors to meld beautifully.
Step 9: Final Toppings
Right before serving, top each cup with the remaining Cool Whip, then decorate with extra crushed Oreos, Halloween sprinkles, and candy for a fun, festive finish that’s sure to delight both kids and adults alike.
How to Serve No-Bake Halloween Cheesecake Cups Recipe
Garnishes
To make these cheesecake cups truly pop at your Halloween gathering, go for vibrant and playful garnishes. Consider classic Halloween sprinkles in black, orange, and purple, or mini candy pumpkins and eyeball candies for that spooky yet sweet vibe. A final sprinkle of crushed Oreos adds the perfect touch of texture and color contrast.
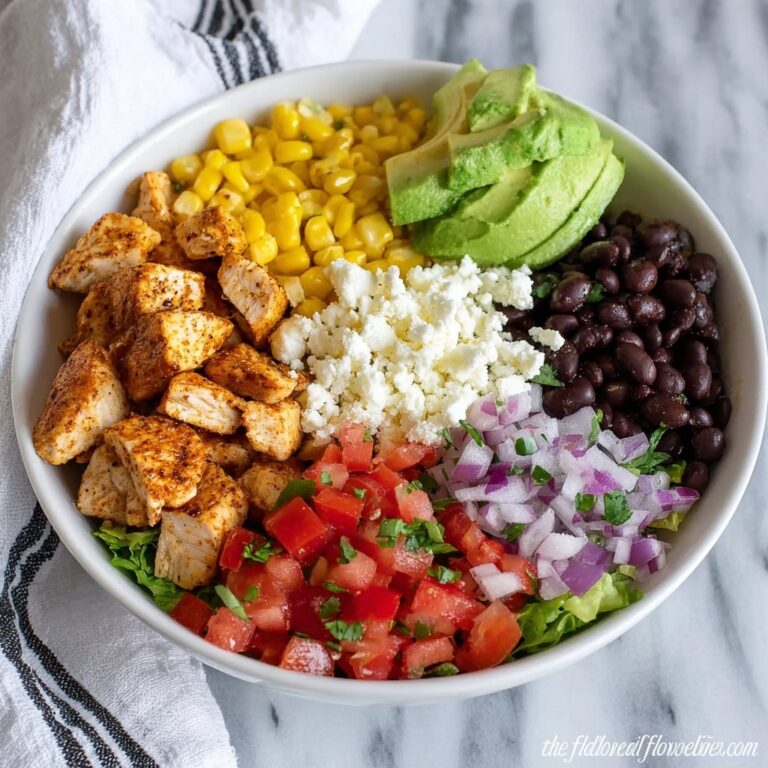
Side Dishes
This dessert pairs well with light, refreshing sides that won’t compete with its richness. Think fresh fruit slices like apples or pears with cinnamon dusting or a crisp apple cider drink. These sides balance the creamy sweetness and keep the theme festive.
Creative Ways to Present
Instead of clear cups, you can use mini mason jars for a more rustic feel or spooky themed cups like plastic cauldrons or skull-shaped containers for Halloween parties. Layering them in a large glass trifle bowl is another fun way to showcase all the colors and textures dramatically.
Make Ahead and Storage
Storing Leftovers
Once made, these No-Bake Halloween Cheesecake Cups can be stored tightly covered in the refrigerator for up to 4 days. Keeping them chilled preserves the creamy texture and the integrity of the cookie layers without softening too much.
Freezing
While you can freeze cheesecake, for these particular cups it’s best to avoid freezing as the Cool Whip layer may change texture and become less appealing once thawed. For the best experience, store in the fridge and enjoy fresh within a few days.
Reheating
No reheating is needed or recommended with this dessert. It’s best served chilled for maximum creaminess and texture contrast. Simply take it out of the fridge about 10 minutes before serving to let the chill soften slightly for the perfect bite.
FAQs
Can I use a different cookie instead of Oreos?
Absolutely! While Oreos give that classic chocolate crunch and flavor, you can try chocolate graham crackers or chocolate chip cookies crushed finely. Just keep the balance of sweetness and texture in mind.
What if I don’t have orange gel food coloring?
If you don’t have gel coloring, regular liquid food coloring can work but may affect the texture slightly due to added moisture. Another option is to use natural colorings like carrot juice concentrate or pumpkin puree, though the flavor might shift.
Is this recipe suitable for kids to help make?
Yes! This No-Bake Halloween Cheesecake Cups Recipe is a fantastic kid-friendly activity. They can help crush cookies, layer the ingredients, and add fun decorations—making it a hands-on treat perfect for the season.
Can I make these vegan or dairy-free?
To make a dairy-free version, substitute regular cream cheese and Cool Whip with coconut cream-based alternatives and use dairy-free cookies. The taste and texture will be slightly different but still delicious and festive.
How long do I need to chill before serving?
A minimum of 2 hours in the fridge is essential to let the cheesecake layers set properly and the flavors meld. If you have more time, chilling longer won’t hurt and can make the dessert even firmer and more refreshing.
Final Thoughts
If you want a fun, spooky, and utterly delicious Halloween dessert that’s easy to whip up and sure to impress, you can’t go wrong with the No-Bake Halloween Cheesecake Cups Recipe. The layers of creamy orange cheesecake, cookie crunch, and fluffy Cool Whip make it a festive favorite that brightens up any celebration. Give it a try this season—you’re going to love how simple and satisfying this treat is to make and share!
“`
Print
No-Bake Halloween Cheesecake Cups Recipe
- Prep Time: 20 minutes
- Cook Time: 0 minutes
- Total Time: 2 hours 20 minutes
- Yield: 7 cheesecake cups
- Category: Dessert
- Method: No-Cook
- Cuisine: American
- Diet: Vegetarian
Description
These No-Bake Halloween Cheesecake Cups are a fun and festive dessert perfect for any Halloween party. Layers of crunchy crushed Oreos, creamy cheesecake filling tinted orange with gel food coloring, and fluffy Cool Whip come together in individual cups for a spooky-sweet treat without the need for any baking.
Ingredients
Base Layer
- 9 Oreo cookies, crushed
Cheesecake Filling
- 2 packages (8 ounces each) cream cheese, softened
- 1 ½ cups powdered sugar
- 2 tablespoons milk
- 1 ½ tablespoons vanilla extract
- 1 container (8 ounces) Cool Whip, thawed and divided (use about 2 cups in filling, remainder for topping)
- Orange gel food coloring
Toppings
- 9 Oreo cookies, crushed (about ¼ cup)
- Halloween sprinkles and candy, for garnish
Instructions
- Prepare Base Layer: Crush 9 of the Oreo cookies into fine crumbs and evenly distribute the crumbs among seven 8-ounce clear cups as the bottom crust layer.
- Make Cheesecake Filling: In a large mixing bowl, beat the softened cream cheese, powdered sugar, milk, and vanilla extract until smooth and creamy. Gently fold in 2 cups of the thawed Cool Whip until fully combined.
- Divide and Color Filling: Split the cheesecake mixture evenly into two bowls. Add orange gel food coloring to one bowl until desired orange hue is achieved, leaving the other mixture white.
- Layer White Cheesecake: Using a piping bag or spoon, pipe or spoon 3 tablespoons of the white cheesecake mixture over the Oreo crumbs in each cup in a circular motion. Gently press it down with a spoon to form an even layer.
- Add Second Layer of Crumbs: Crush the remaining 9 Oreo cookies and sprinkle about ¼ cup of crumbs evenly over the white cheesecake layer in each cup.
- Layer Orange Cheesecake: Pipe or spoon 3 tablespoons of the orange cheesecake mixture over the Oreo crumb layer in each cup. Press gently with a spoon to create an even layer.
- Chill: Cover the cheesecake cups and refrigerate for at least 2 hours to allow them to set. The cups can be stored in the fridge for up to 4 days when tightly covered.
- Decorate and Serve: Just before serving, dollop the remaining Cool Whip on top of each cup. Garnish with additional crushed Oreos, Halloween sprinkles, and candy as desired. Enjoy your spooky treat!
Notes
- Use gel food coloring for a vibrant orange color without adding extra liquid to the filling.
- Make sure the cream cheese is properly softened for a smooth batter.
- Chilling for at least 2 hours helps the cheesecake cups to firm up for better texture.
- These cups can be prepared a day in advance for convenience.
- Customize toppings with your favorite Halloween-themed candies and sprinkles.
